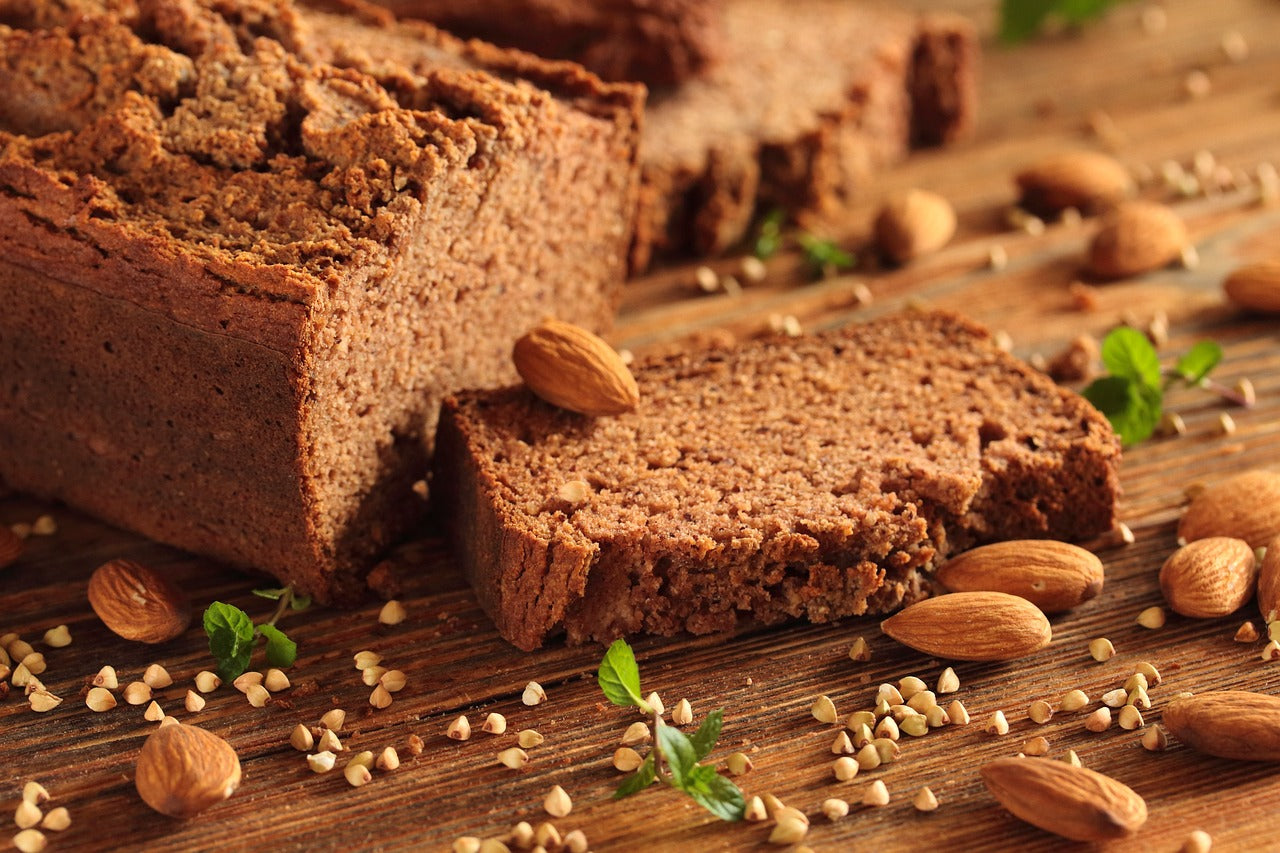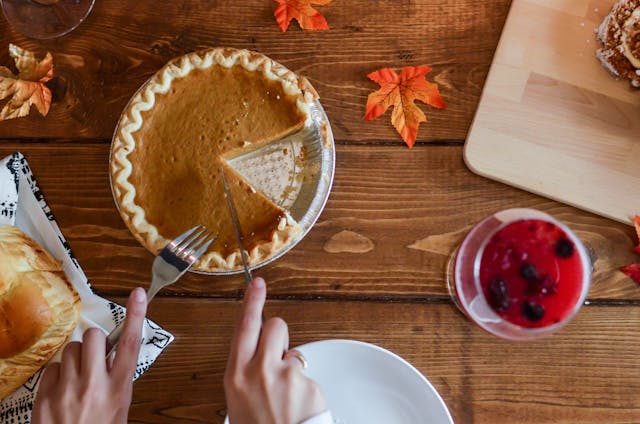
As the weather cools and the leaves change, nothing says "fall" quite like the smell of a fresh pumpkin pie baking in the oven. Whether you're a seasoned baker or a beginner, using silicone bakeware can help you achieve perfectly baked pumpkin pies with ease. In this guide, we’ll walk you through the steps to bake the perfect pumpkin pie and show you why silicone bakeware is a game-changer for fall baking.
Why Silicone Bakeware is Ideal for Pumpkin Pies
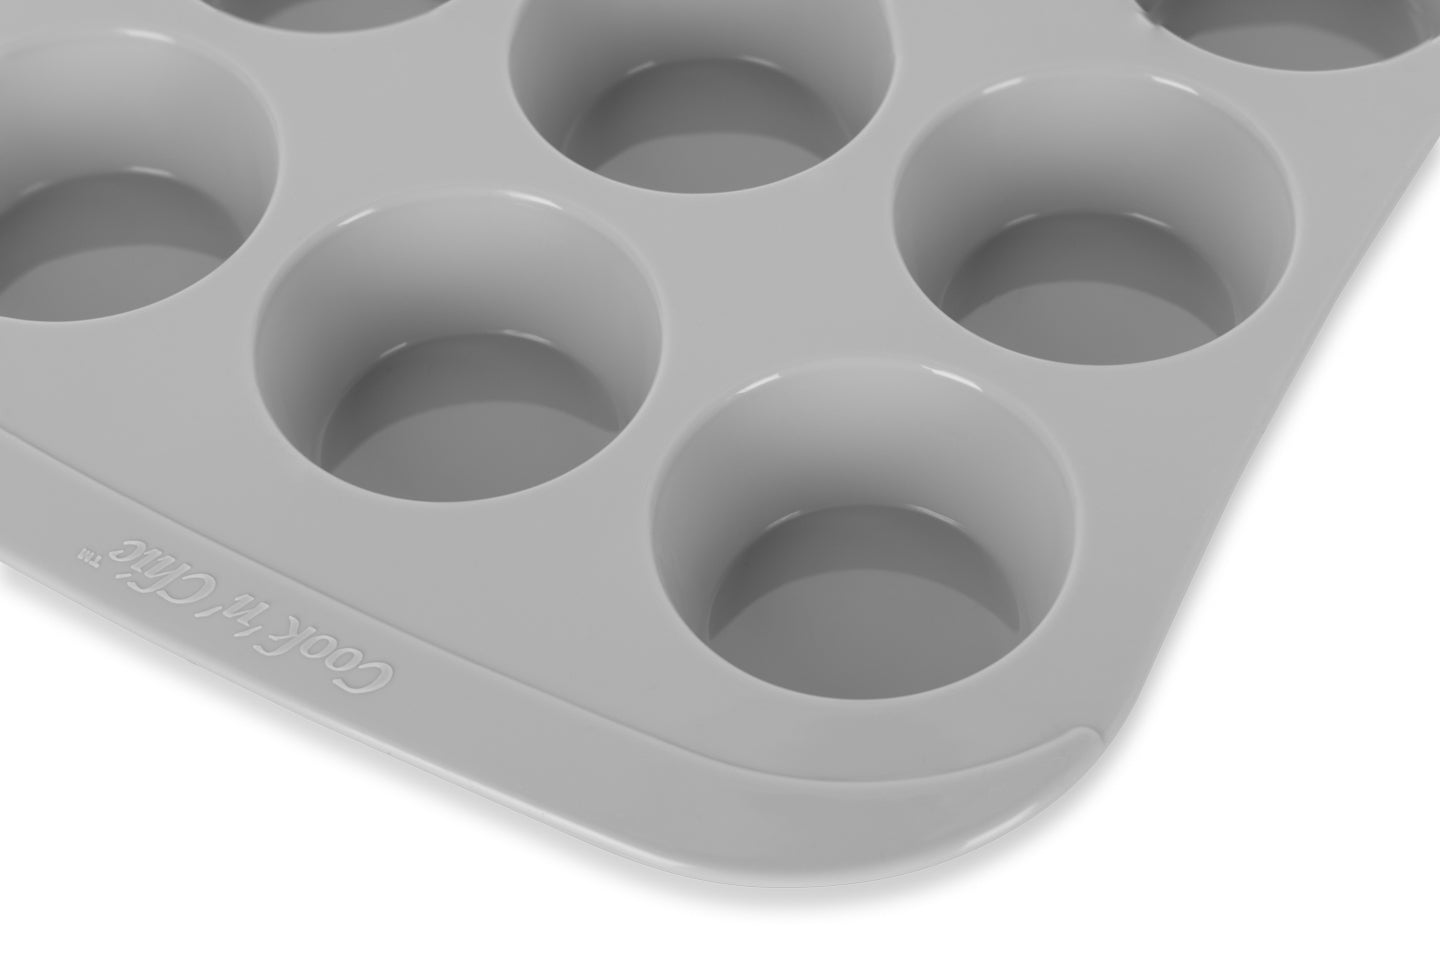
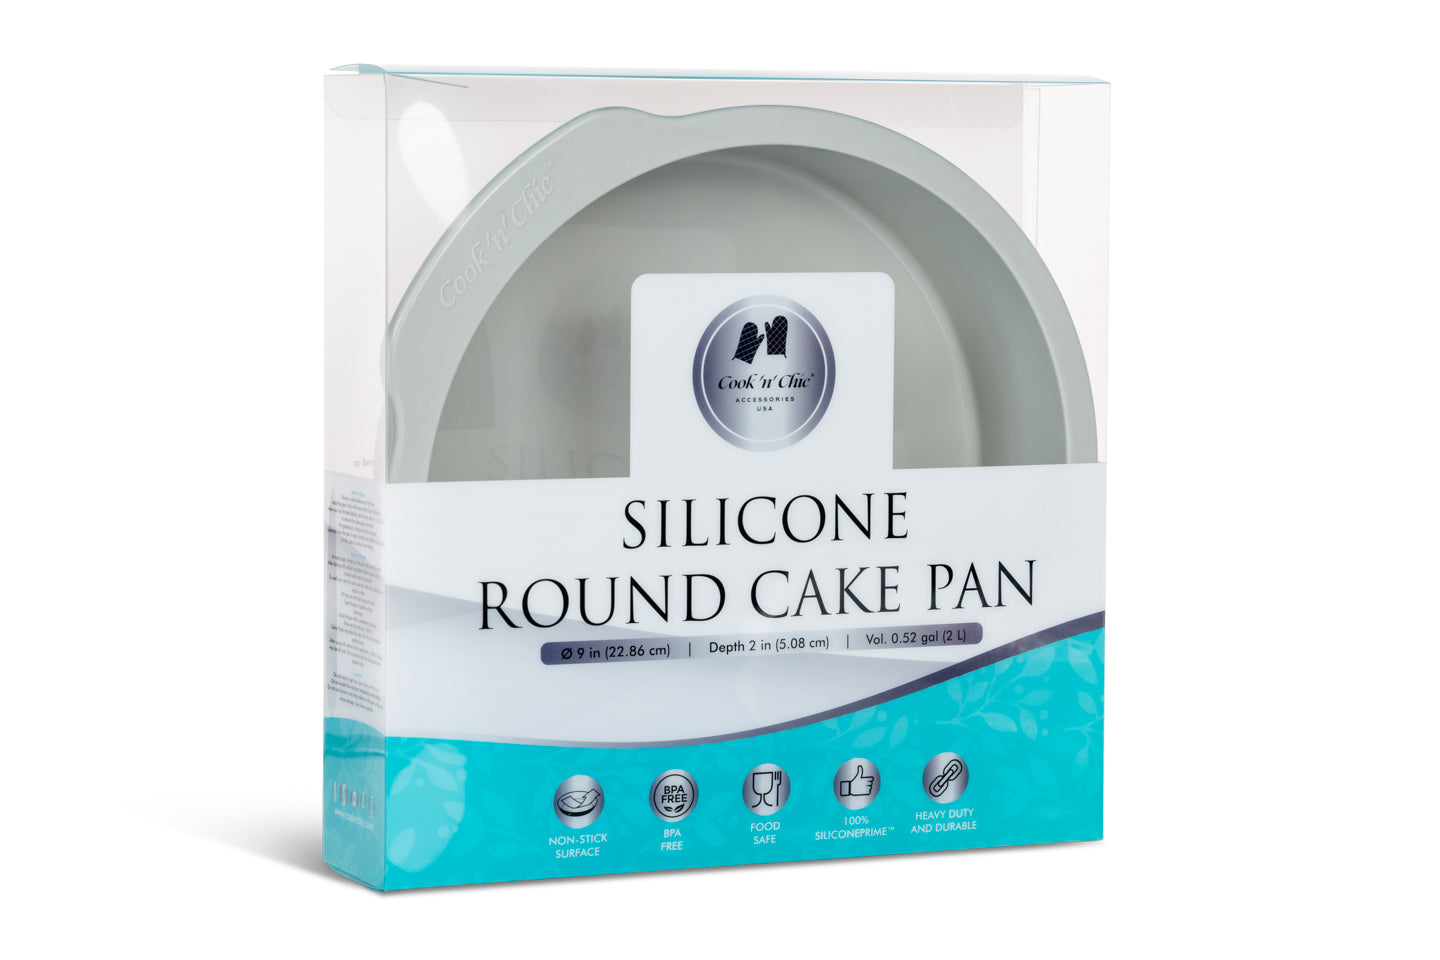
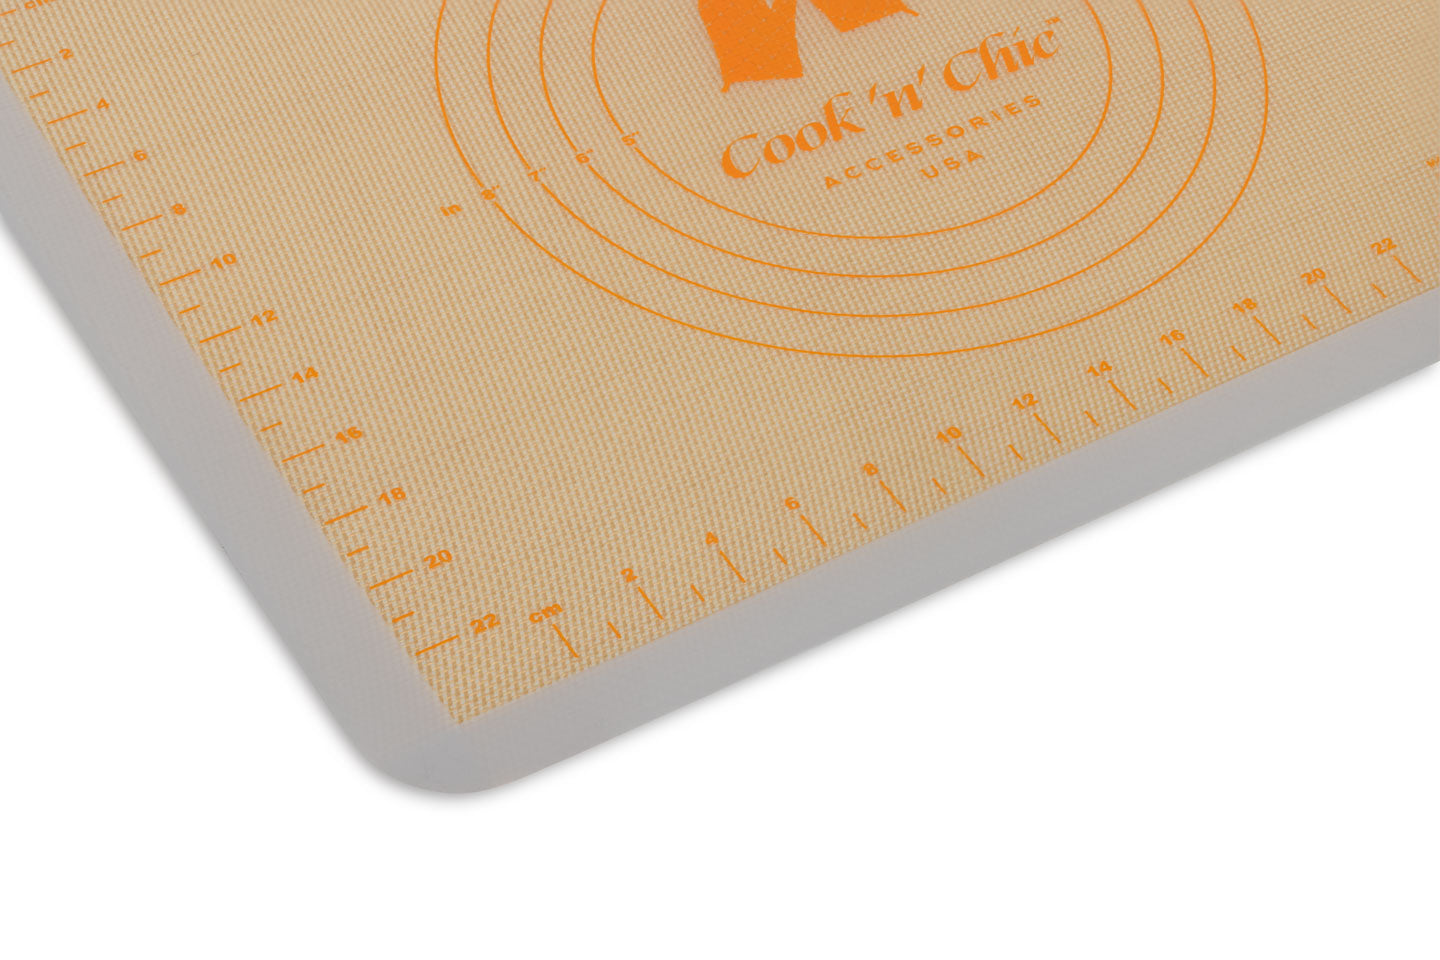
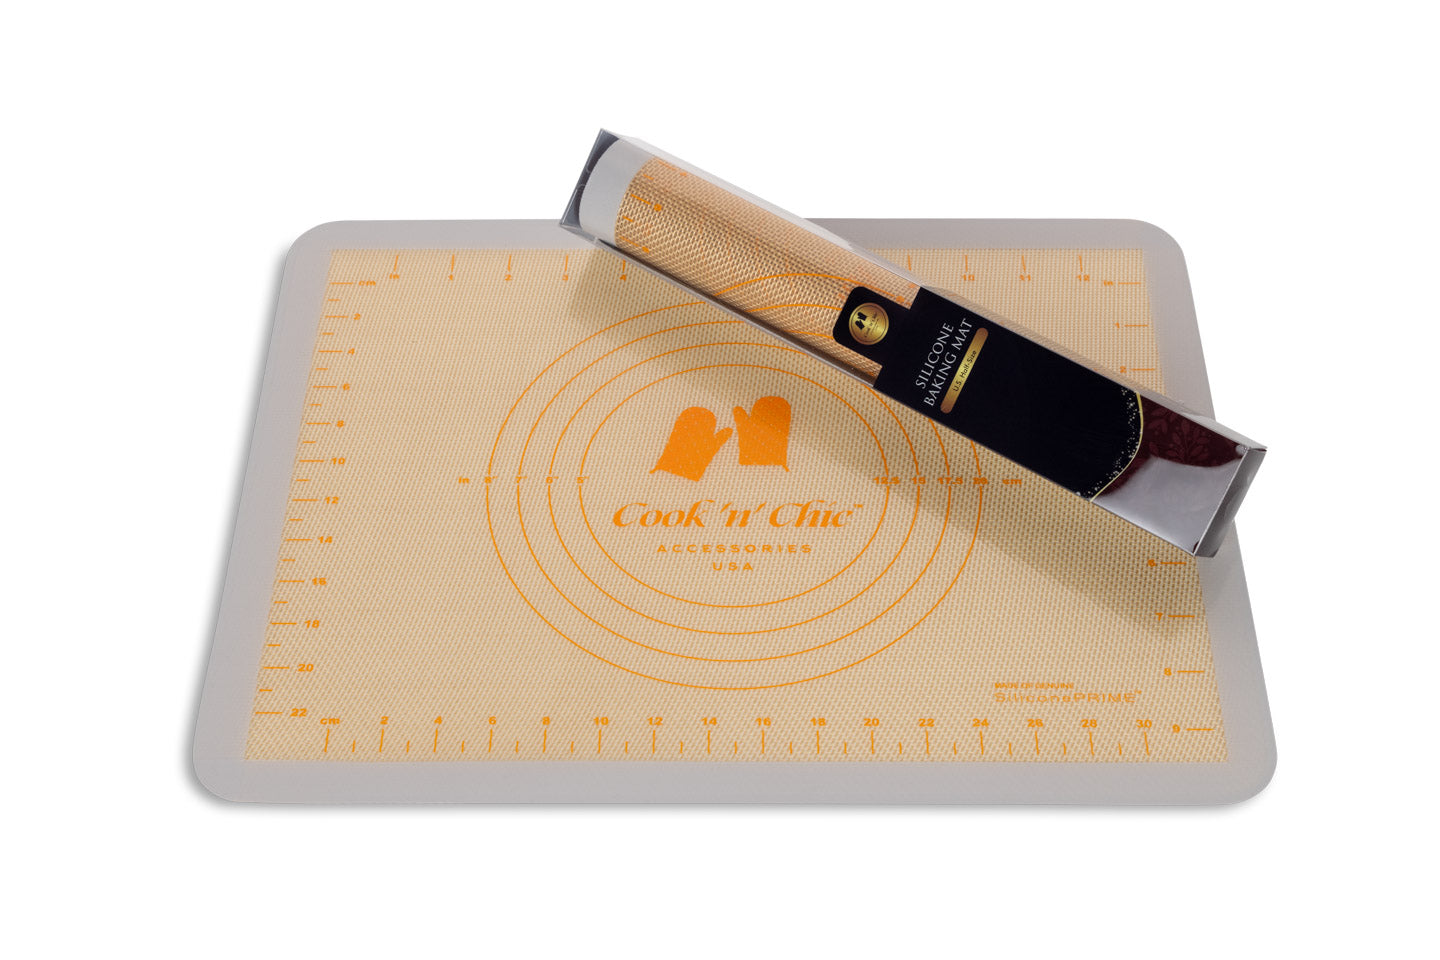
Silicone bakeware offers several advantages over traditional metal or glass pans, especially when it comes to baking pies:
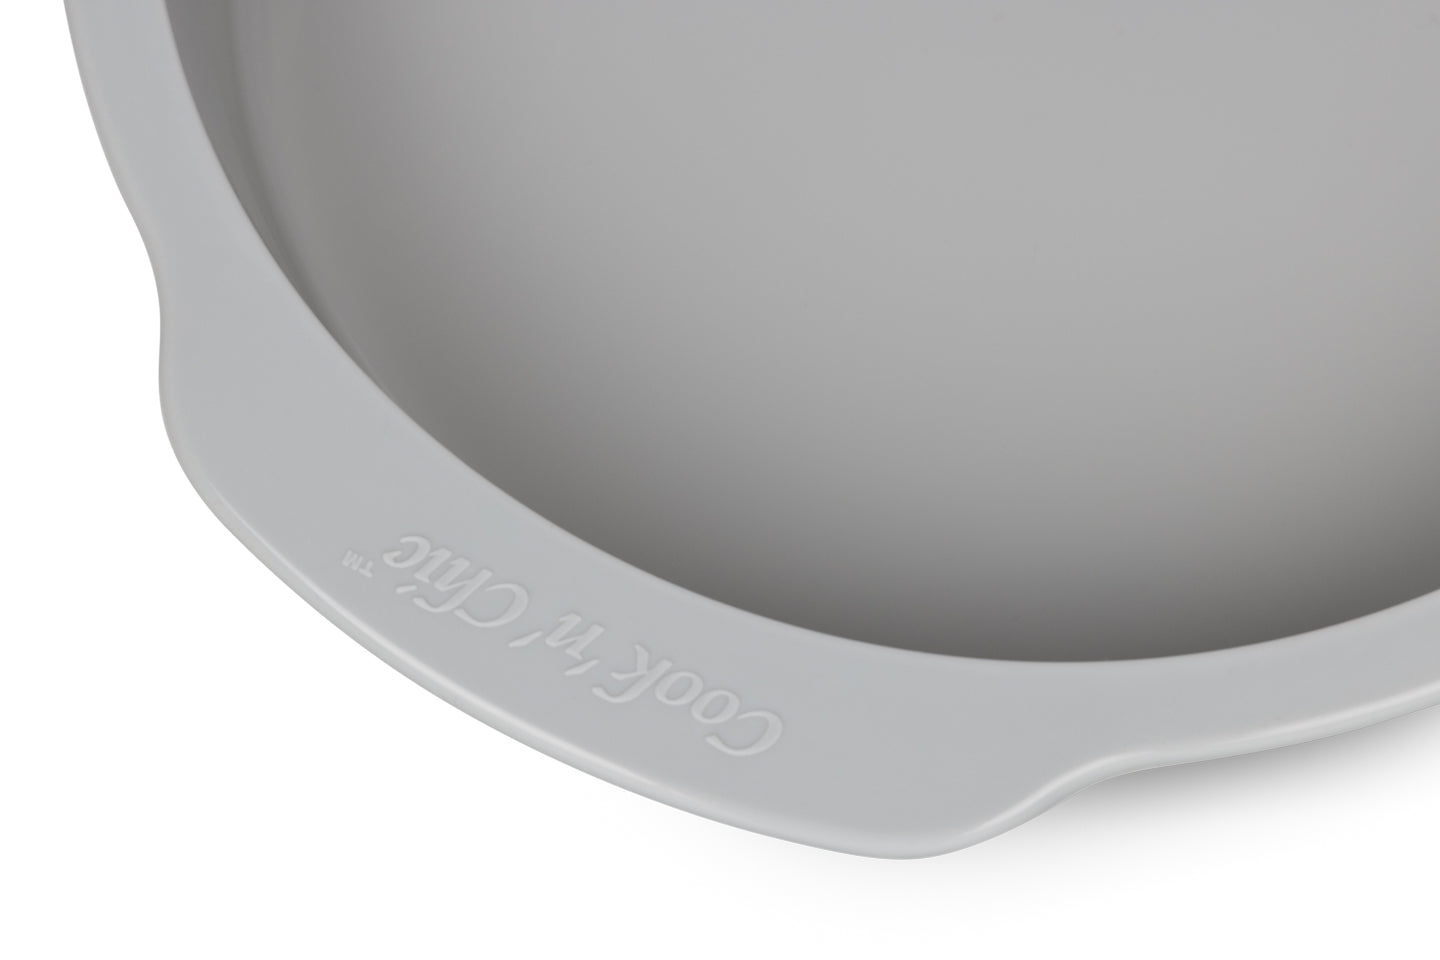
- Non-stick properties: Silicone’s non-stick surface makes it easy to remove pies without damaging the crust.
- Even heat distribution: Silicone bakeware ensures that your pie bakes evenly, preventing overcooking or undercooking in certain spots.
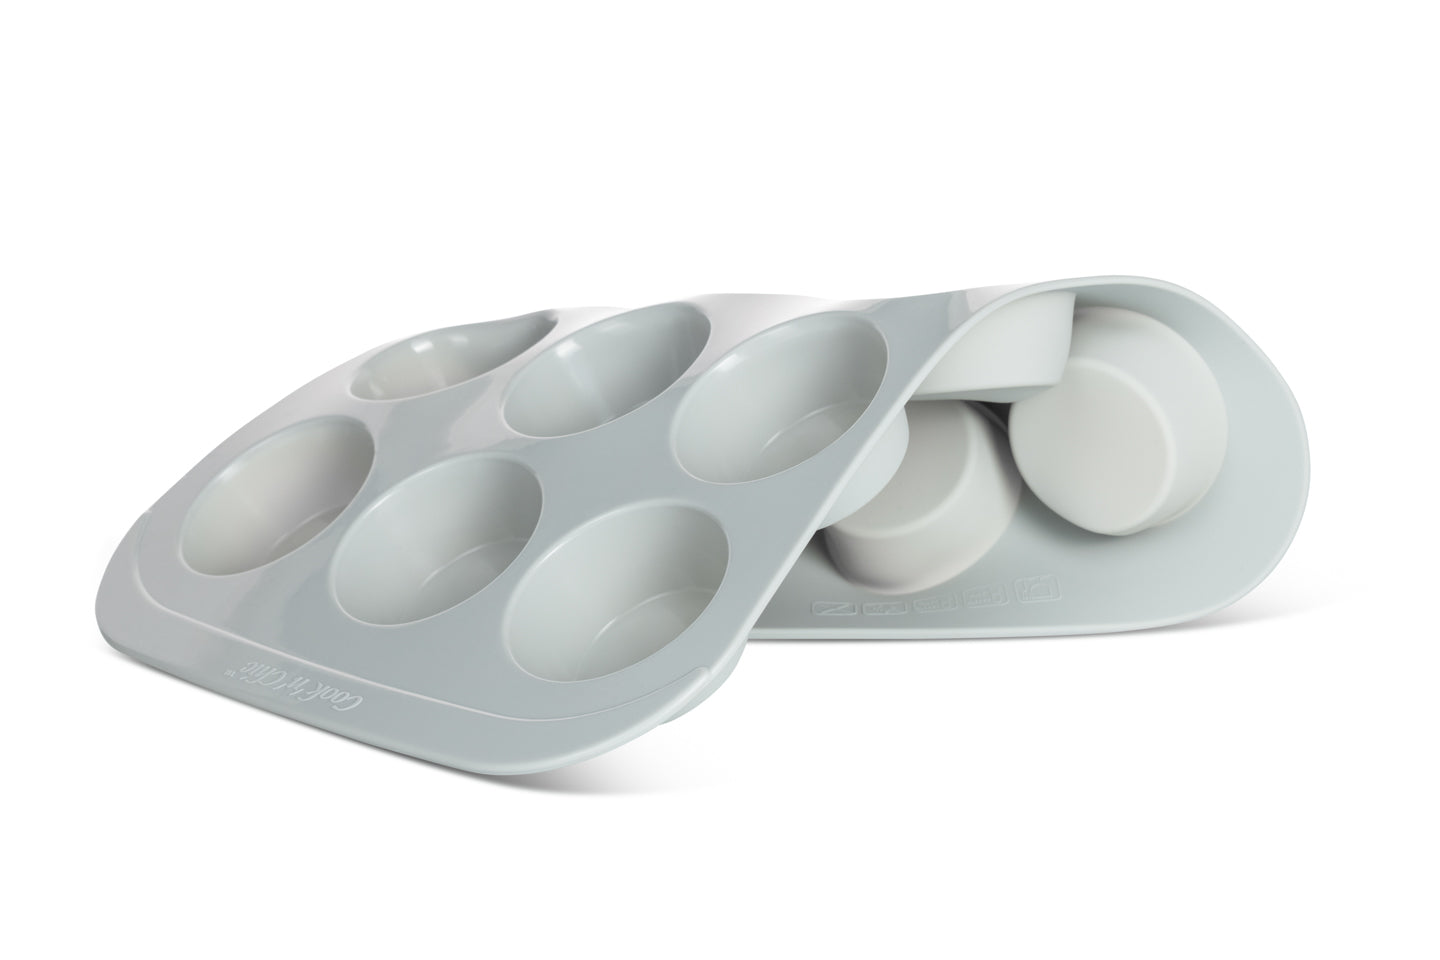
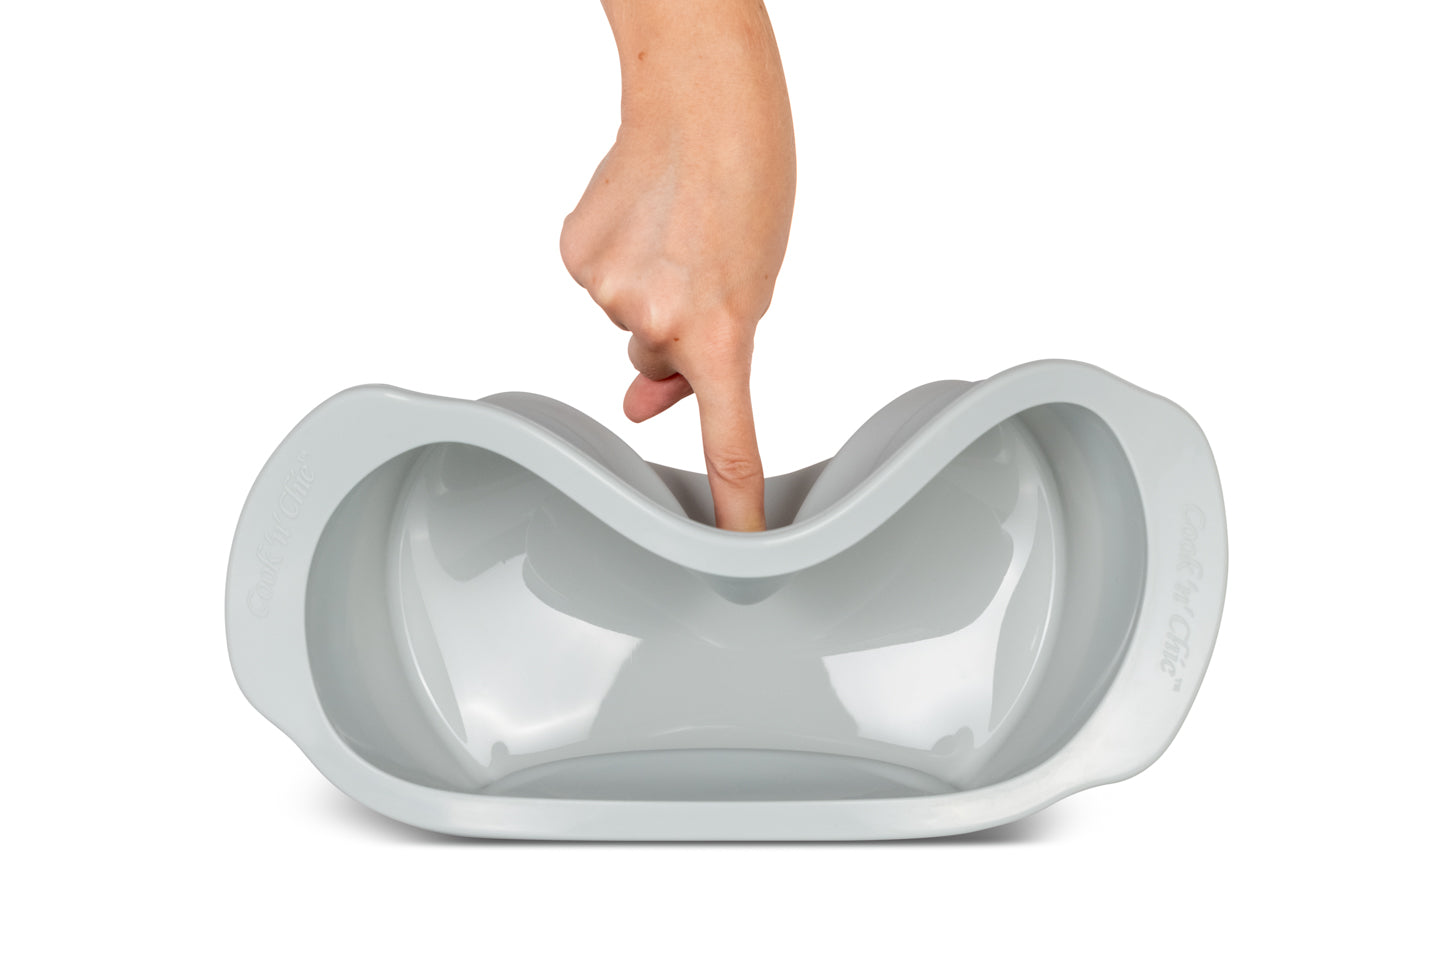
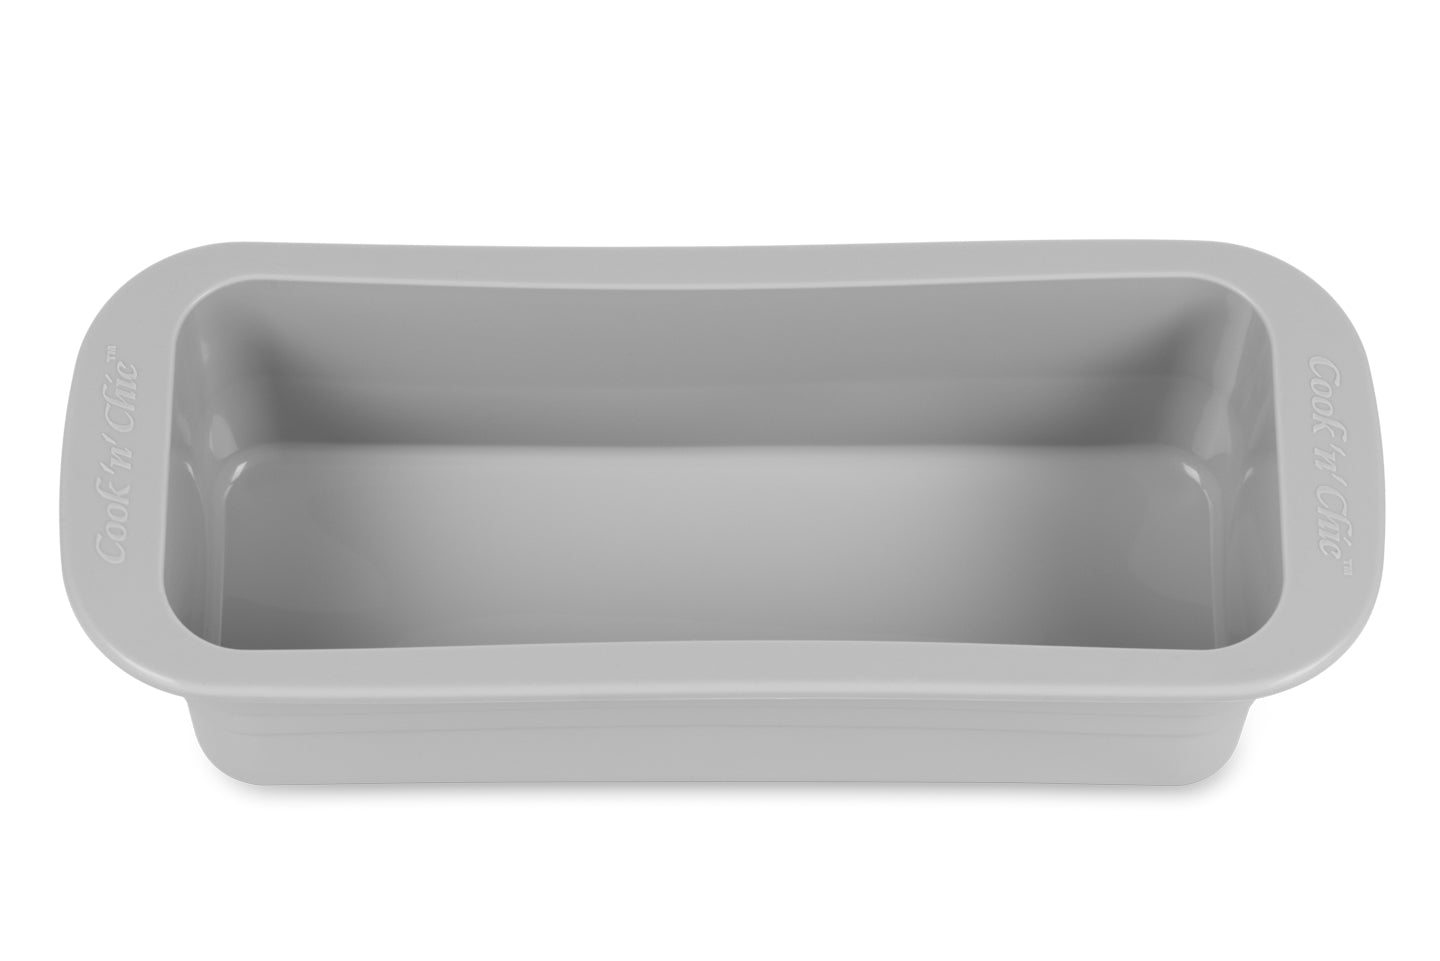
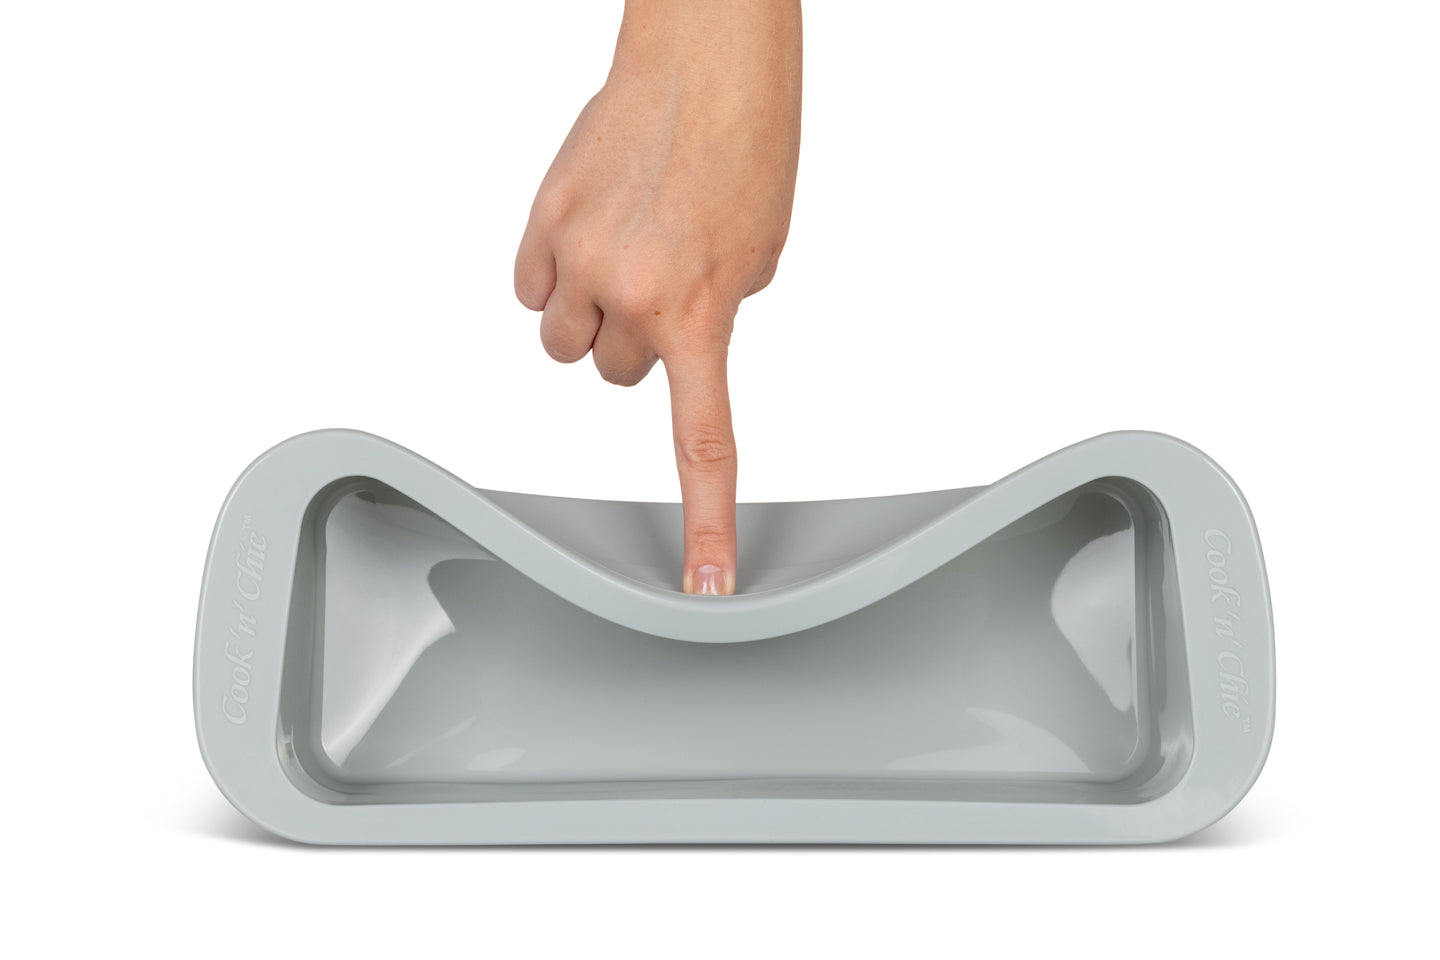
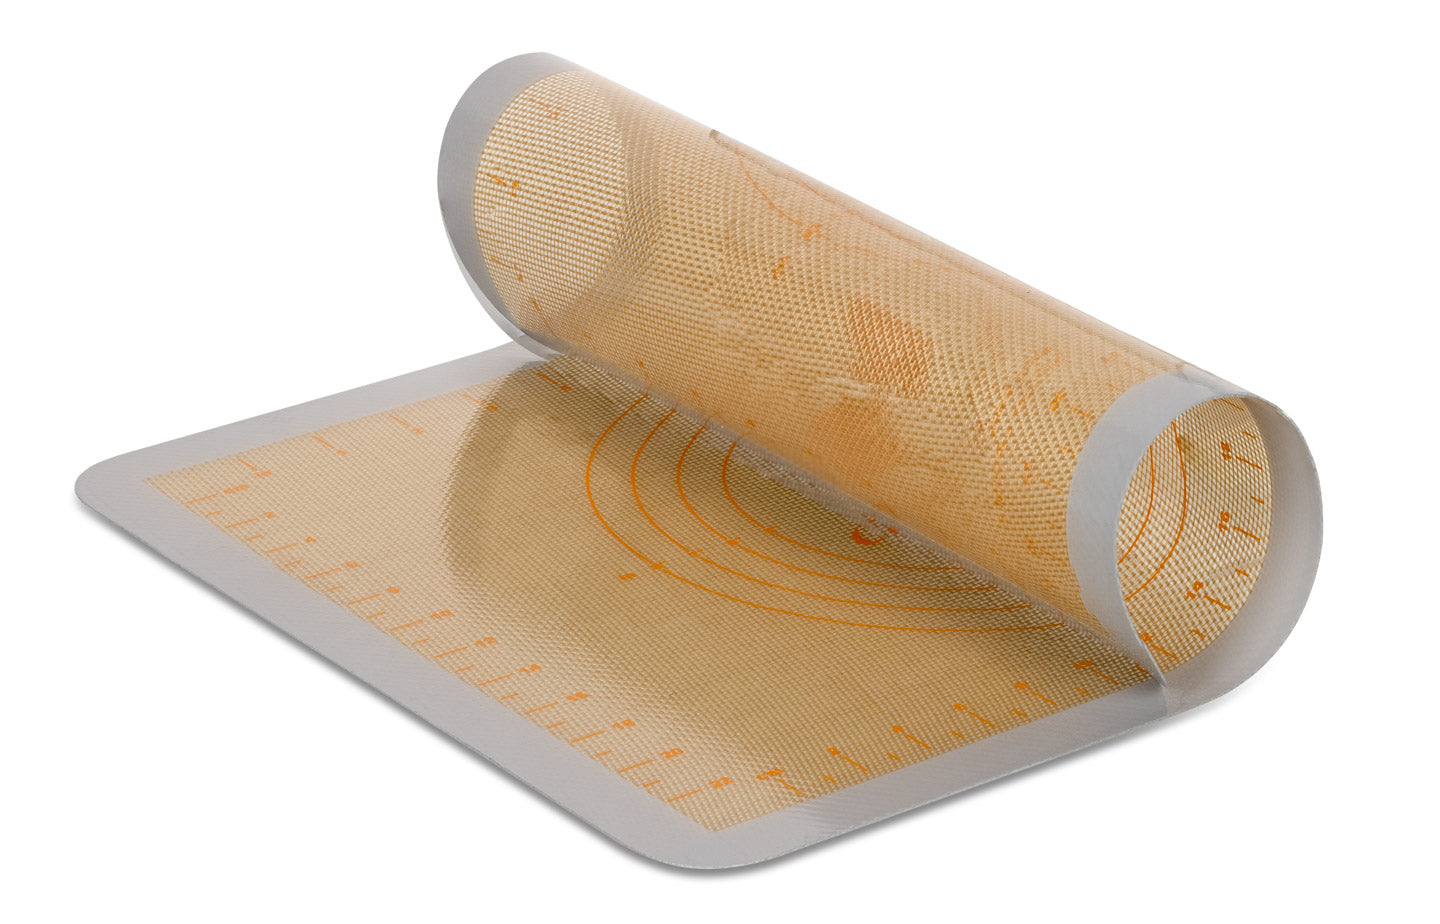
- Flexible and durable: Silicone pie molds are flexible, allowing for easy release, and they are resistant to high temperatures, making them durable and long-lasting.
- Easy to clean: Silicone bakeware can be easily cleaned in the dishwasher, saving time and hassle after your baking session.
Now that you know why silicone is the best choice for your fall pies, let’s dive into the steps for making the perfect pumpkin pie.
Step-by-Step Guide to Baking the Perfect Pumpkin Pie
Ingredients:
-
For the Crust:
- 1 ¼ cups all-purpose flour
- ½ teaspoon salt
- ½ cup cold unsalted butter, cubed
- 2-4 tablespoons ice water
-
For the Filling:
- 1 ¾ cups pumpkin puree (canned or homemade)
- ¾ cup brown sugar
- 2 large eggs
- 1 cup heavy cream
- 1 teaspoon cinnamon
- ½ teaspoon ground ginger
- ¼ teaspoon ground cloves
- ¼ teaspoon nutmeg
- 1 teaspoon vanilla extract
Instructions:
1. Prepare the Crust
- Combine dry ingredients: In a large mixing bowl, whisk together the flour and salt.
- Cut in the butter: Add cold, cubed butter to the dry ingredients and use a pastry cutter or your fingers to blend it until the mixture resembles coarse crumbs.
- Add ice water: Gradually add 2-4 tablespoons of ice water, one tablespoon at a time, mixing until the dough comes together. Be careful not to overmix.
- Chill the dough: Shape the dough into a disc, wrap it in plastic, and refrigerate for at least 30 minutes.
2. Roll Out the Dough
- Roll the crust: On a lightly floured surface, roll out the chilled dough into a circle about 1/8-inch thick and large enough to fit your silicone pie mold.
- Transfer to the silicone mold: Carefully place the dough into the silicone pie mold, pressing it into the edges and trimming any excess dough around the edges.
- Pre-bake the crust: To prevent a soggy bottom, pre-bake the crust by lining it with parchment paper and filling it with pie weights or dried beans. Bake at 375°F (190°C) for 10-12 minutes, then remove the weights and bake for another 5 minutes until lightly golden.
3. Make the Filling
- Mix the pumpkin puree and sugar: In a large mixing bowl, combine the pumpkin puree and brown sugar.
- Add the spices: Stir in the cinnamon, ginger, cloves, nutmeg, and vanilla extract.
- Incorporate the eggs: Add the eggs one at a time, mixing well after each addition.
- Add the cream: Slowly stir in the heavy cream until the mixture is smooth and well-combined.
4. Pour and Bake
- Fill the crust: Pour the pumpkin pie filling into the pre-baked crust, smoothing the top with a spatula if needed.
- Bake: Place the pie in the oven at 350°F (175°C) and bake for 45-55 minutes, or until the filling is set but still slightly jiggly in the center.
- Cool: Remove the pie from the oven and allow it to cool completely on a wire rack. The filling will continue to set as it cools.
Tips for Perfect Pumpkin Pies Using Silicone Bakeware
- Use a silicone pie mold for easy removal: The flexibility of silicone ensures your pie will release effortlessly once it’s cooled, without damaging the delicate crust.
- Pre-bake the crust for a crispier texture: Silicone’s non-stick properties can sometimes lead to a softer crust, so pre-baking helps keep the crust flaky and crisp.
- Check for doneness carefully: Pumpkin pie filling can be tricky to time correctly. Look for a slight jiggle in the center and ensure the edges are firm before removing the pie from the oven.
- Cool completely before serving: Pumpkin pies need time to fully set, so let them cool for at least two hours before slicing.
The Benefits of Silicone Bakeware for Pie Baking
- No need for greasing: Unlike metal or glass pans, silicone bakeware doesn’t require greasing, making it healthier and less messy.
- Uniform baking: Silicone’s ability to distribute heat evenly ensures that every part of your pie bakes at the same rate, preventing burnt edges and raw centers.
- Easy storage: Silicone bakeware is flexible and lightweight, making it easy to store, even in tight kitchen spaces.
- Multi-purpose: Silicone molds are versatile and can be used for other fall desserts like tarts or quiches.
Conclusion
With its non-stick, flexible properties and even heat distribution, silicone bakeware is the perfect tool for baking pumpkin pies this fall. Whether you're an experienced baker or just getting started, using silicone bakeware will ensure your pies come out beautifully every time, with minimal fuss.
So, this fall, take the stress out of pie-baking and enjoy the convenience and reliability of silicone bakeware. Your perfect pumpkin pie is just a few steps away!