Baking is a great activity that can be enjoyed by the whole family. However, using traditional metal baking pans can oftentimes be difficult and produce inconsistent results. This is why recipes for silicone baking molds are becoming increasingly popular. They are flexible, easy to use, and produce consistent results every time. If you're looking for some recipes that will help you use your silicone bakeware to the fullest potential, then you've come to the right place. In this blog post, we will provide you with some of our favorite recipes. So whether you're a beginner or an experienced baker, we have something for everyone! Keep reading to get started.
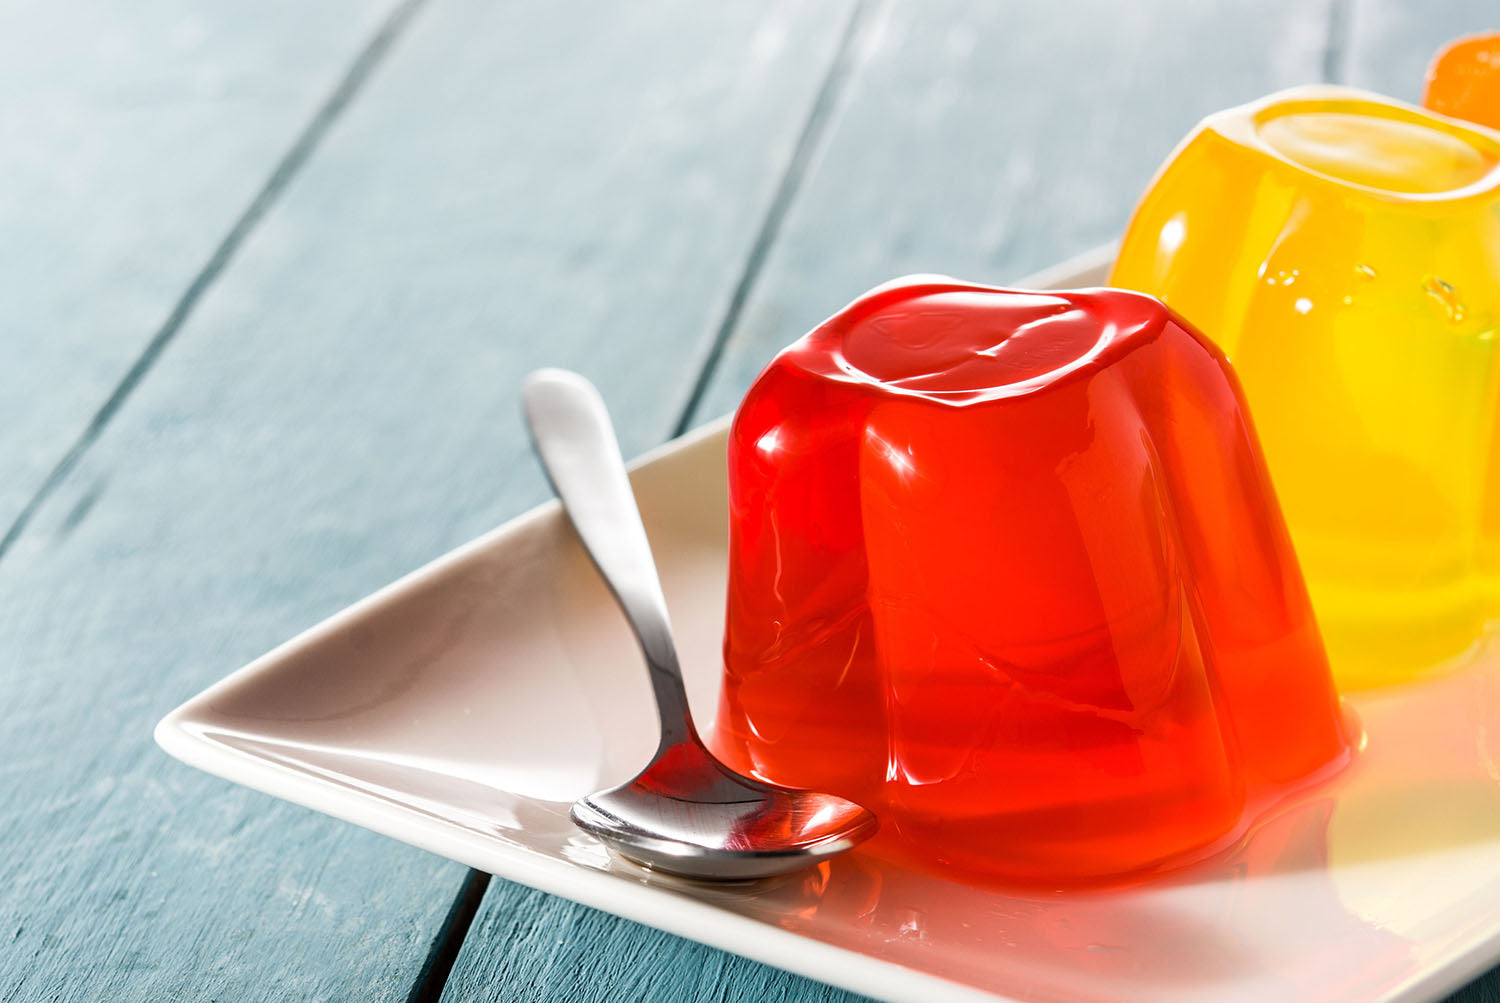
Jello cups

- Begin by heating up your favorite fruit juice or jam until it's nice and hot. You'll need about 1/2 cup of liquid for each Jello cup.
- While the juice is heating up, mix together your gelatin powder and cold water in a bowl. You'll need 1 envelope of gelatin for every 2 cups of liquid you're using.
- Once the gelatin has dissolved, add it to the hot juice and stir until combined.
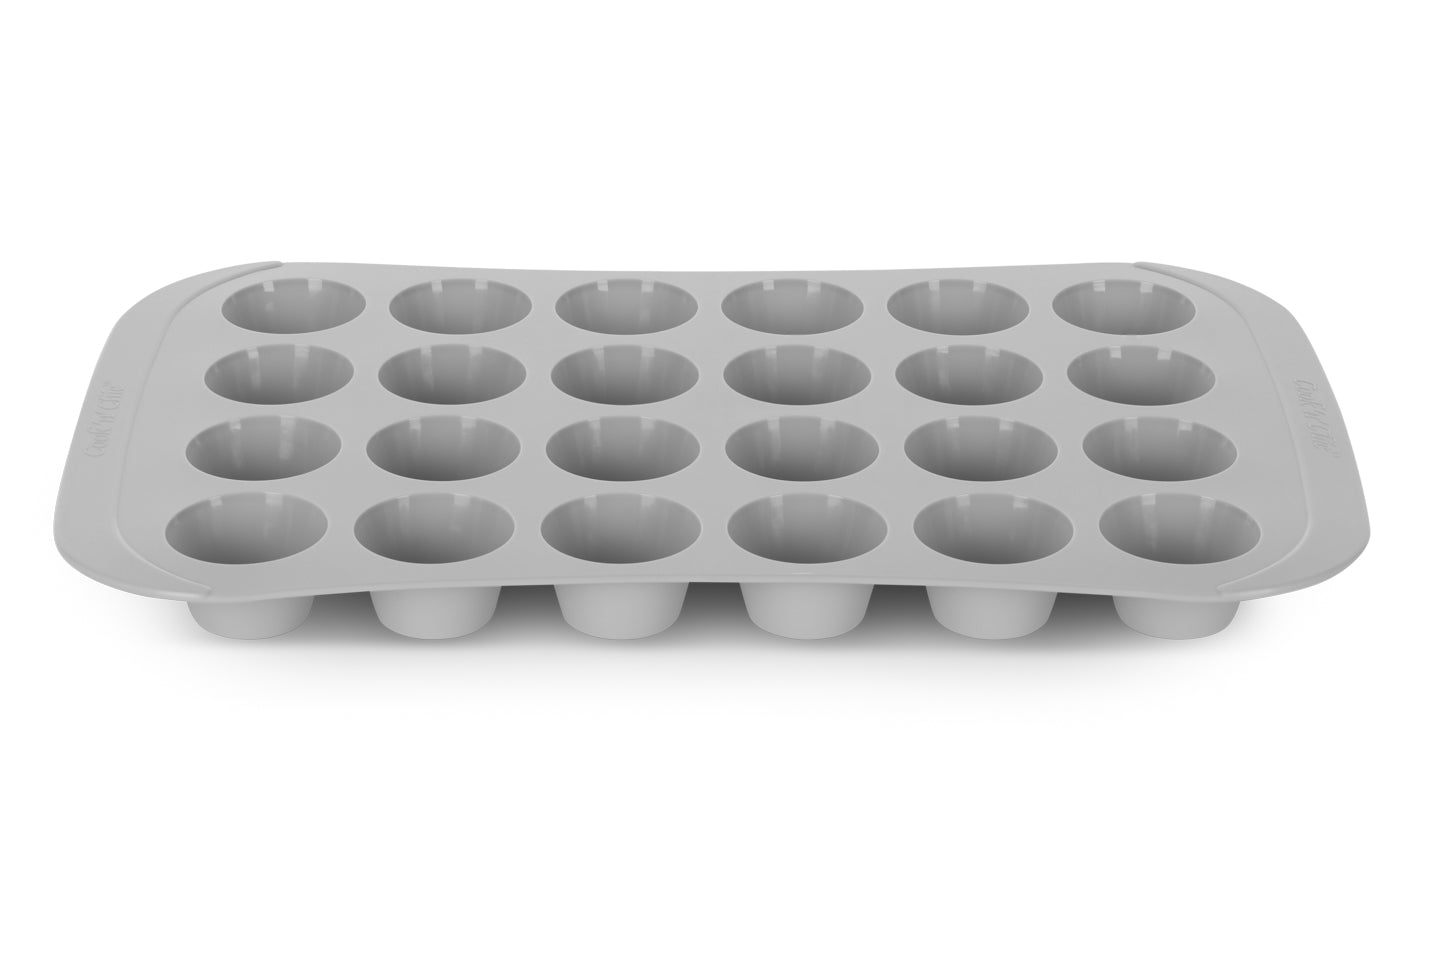
- Pour the mixture into molds, being careful not to overfill them. You can find these molds at most kitchen stores or online.
- Place them in the fridge and let them sit for at least 4 hours, or overnight if you prefer.
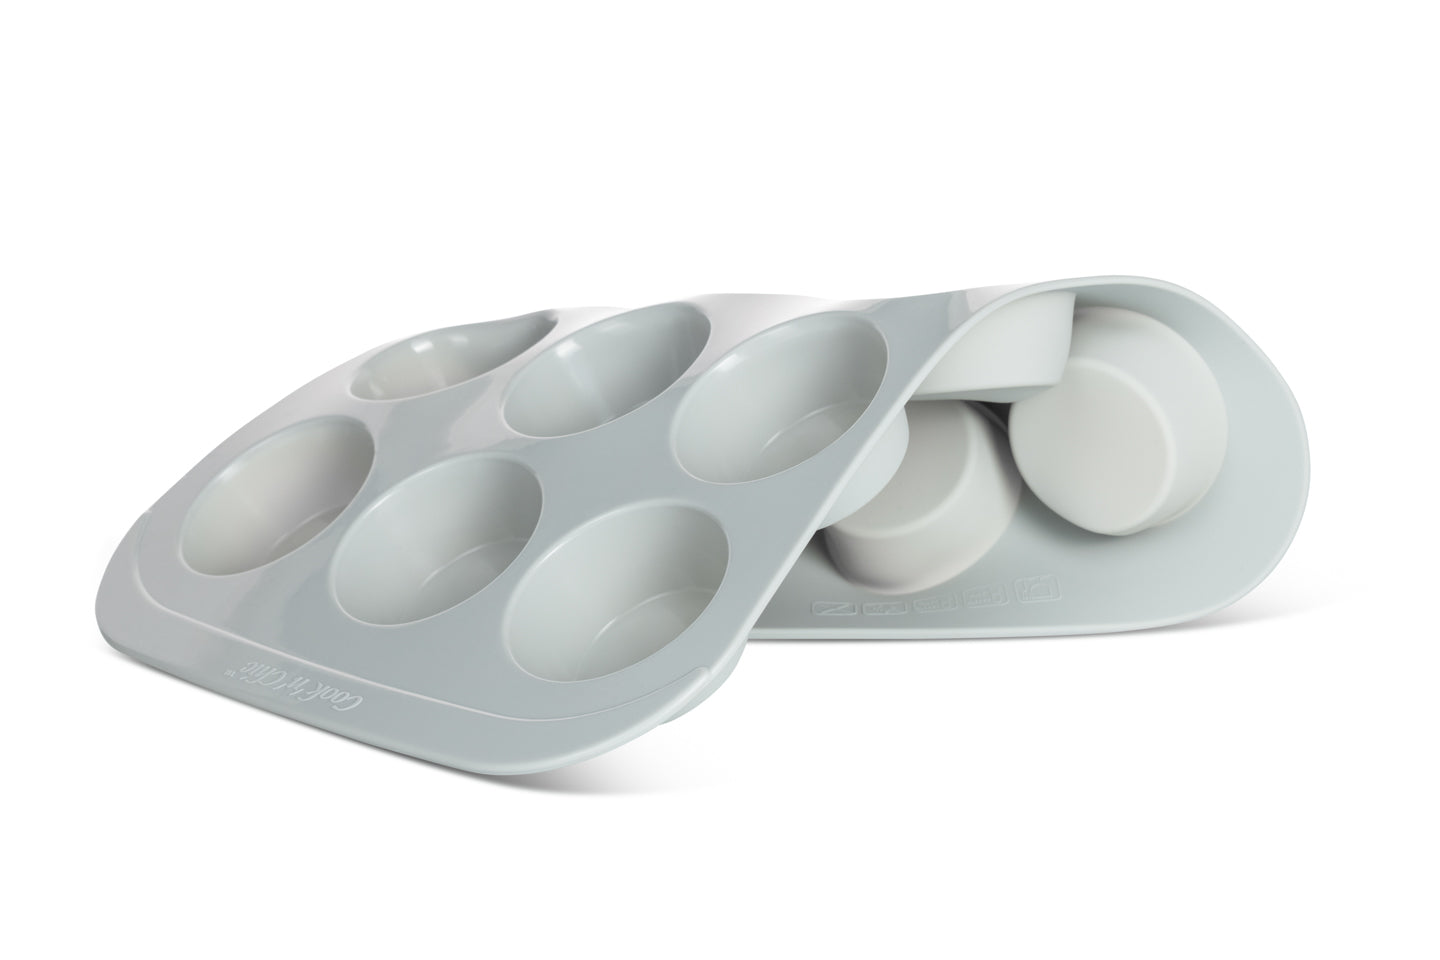
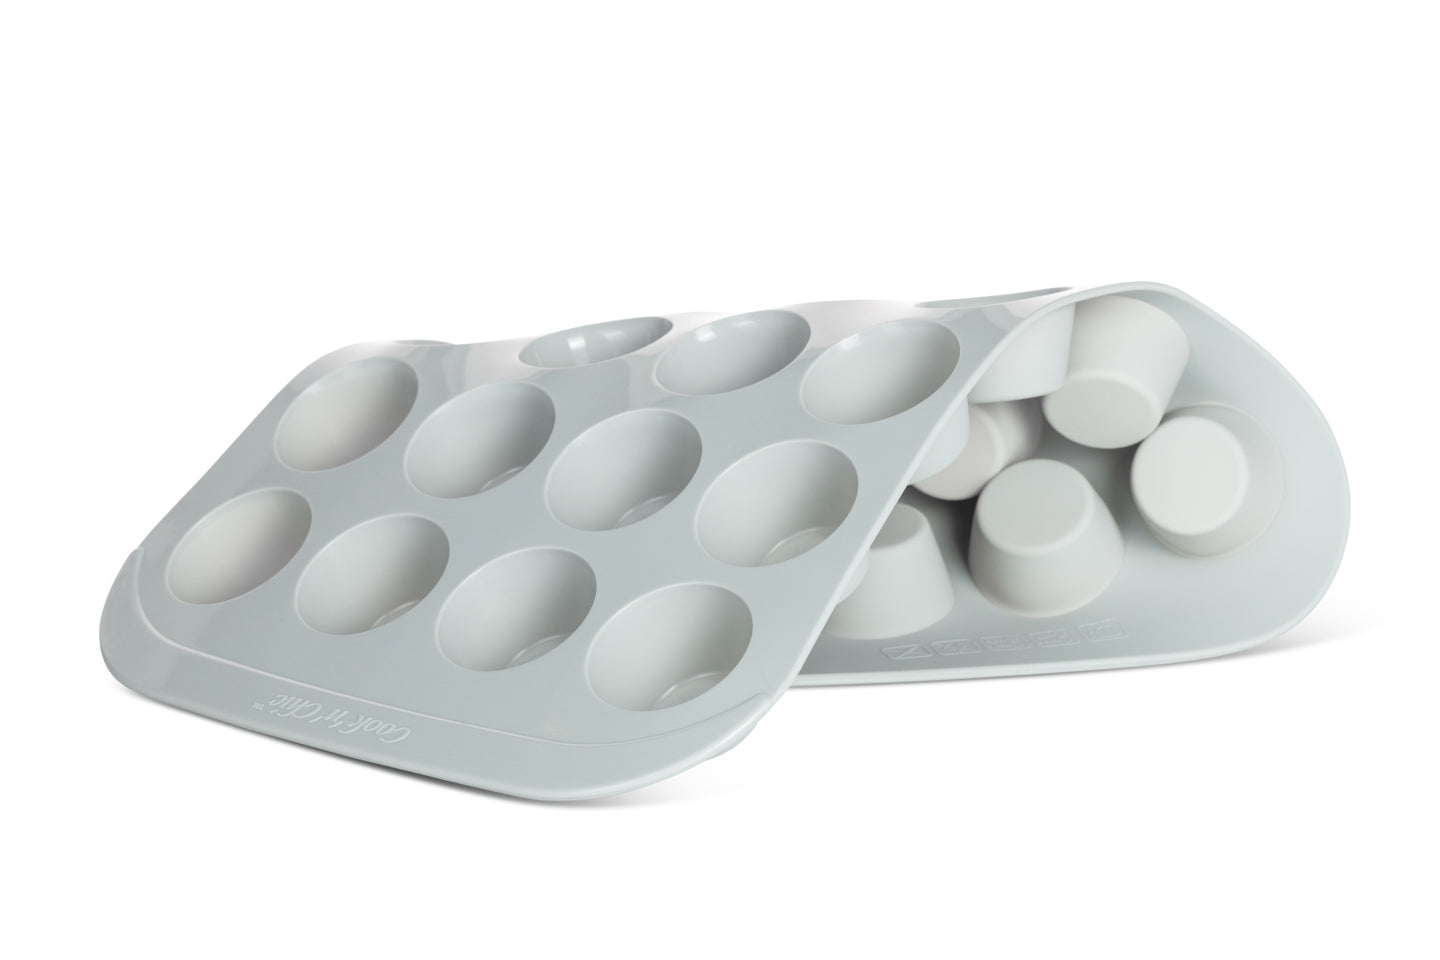
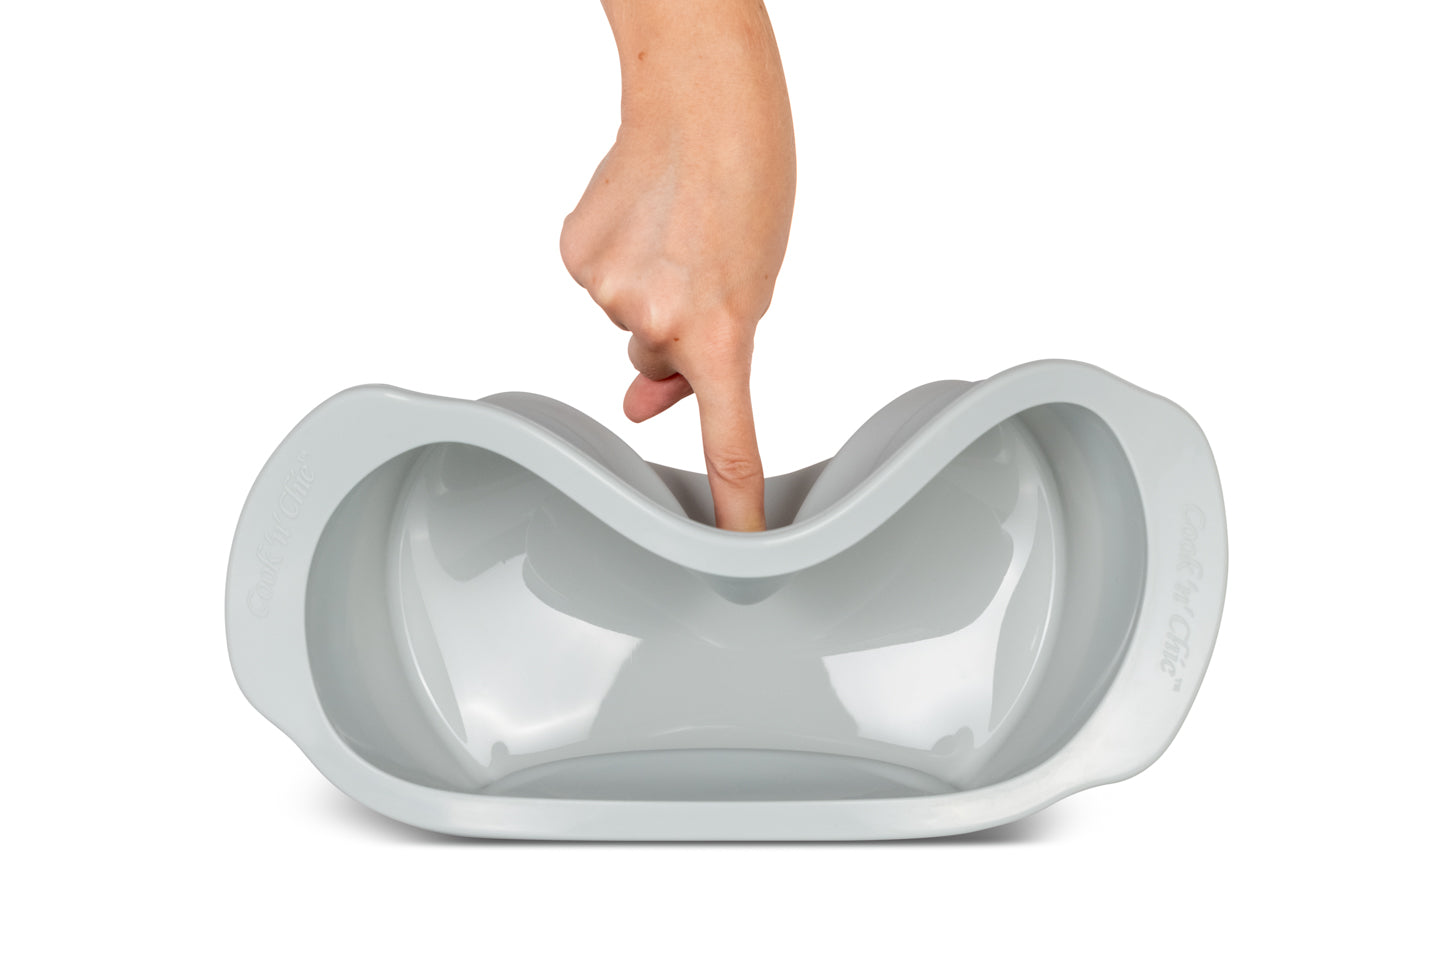
- Thanks to the non-stick surface, there is no difficulty in removing jello cups from the molds. Just pop them out. Serve chilled and enjoy!
Filled chocolate

There are a number of different ways to make filled chocolates, but perhaps the easiest and most foolproof method is to use silicone molds. They come in a variety of shapes and sizes, making it easy to create unique chocolate treats that are perfect for gift-giving or simply enjoying on your own. Whether you love nuts, fruits, caramels, or something else entirely, there's no better way to indulge your sweet tooth than with some delicious homemade filled chocolates.
- To get started, begin by placing your preferred filling in a small bowl or cup and heating it in the microwave until it is soft and easily spreadable.
- Then, use a spoon or pastry bag to fill each cavity in your silicone mold with the desired amount of filling.
- Once you have finished filling all of them, place it in the fridge for about an hour or so until the chocolate is completely set.
- You can then remove the filled chocolates from their molds, wrap them up as desired, and enjoy!
Popsicles
For the popsicles, you will need:
- 2 cups of your favorite fruit juice
- 1/2 cup Greek yogurt
- 1 tablespoon honey
- 6 silicone popsicle molds.
- Combine the fruit juice, yogurt, and honey in a blender and blend until smooth.
- Pour the mixture into the popsicle molds, making sure to leave a little bit of room at the top.
- Freeze for at least 6 hours, or until completely frozen.
- To release the popsicles from the molds.
- Serve and enjoy!
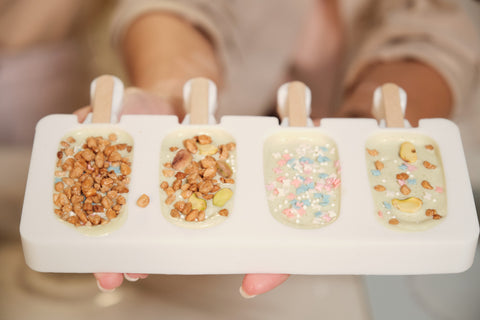
Peanut butter cups

Making peanut butter cups at home is a great way to satisfy your sweet tooth without having to worry about unhealthy additives or added sugar. To make classic peanut butter cups, you will need the following ingredients and tools:
- 1 cup of natural peanut butter, smooth or chunky depending on your preference
- 1 cup of melted dark chocolate or chocolate chips, plus some more for coating the finished cups
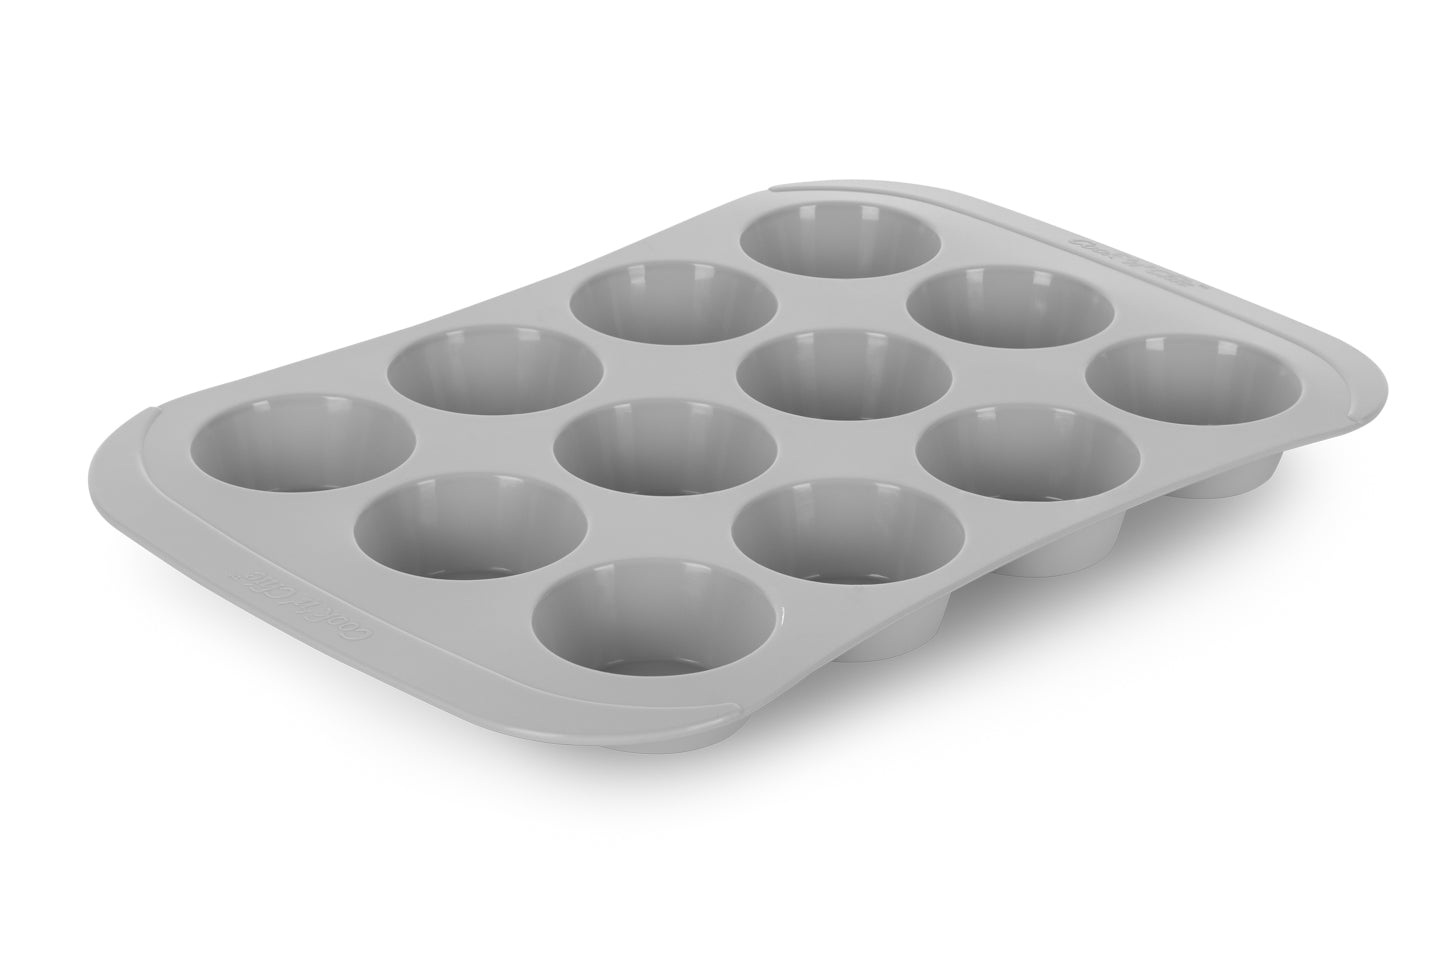
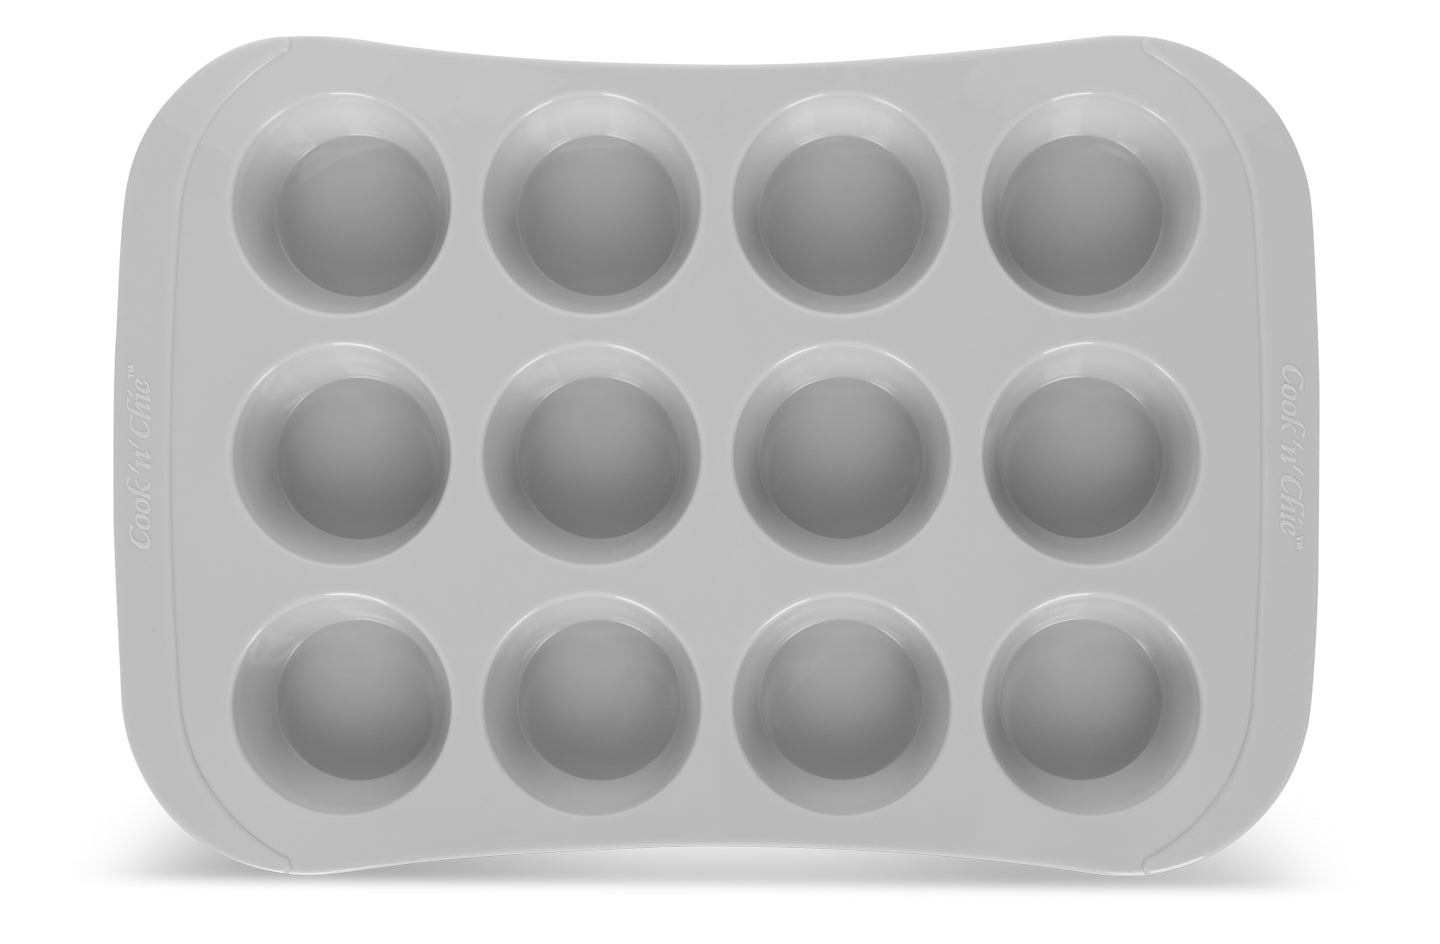
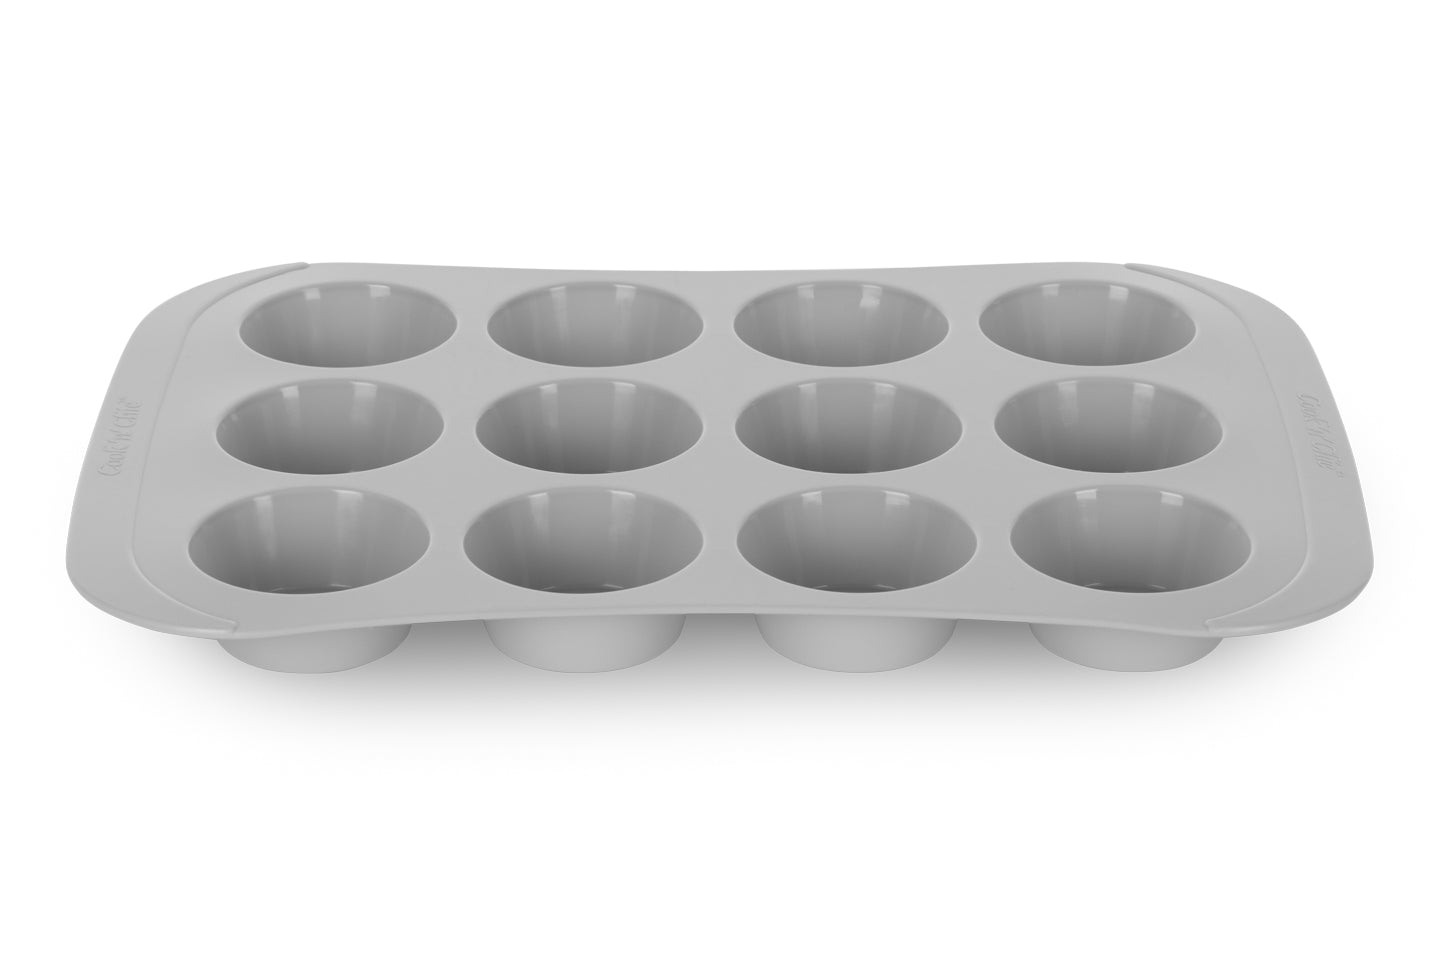
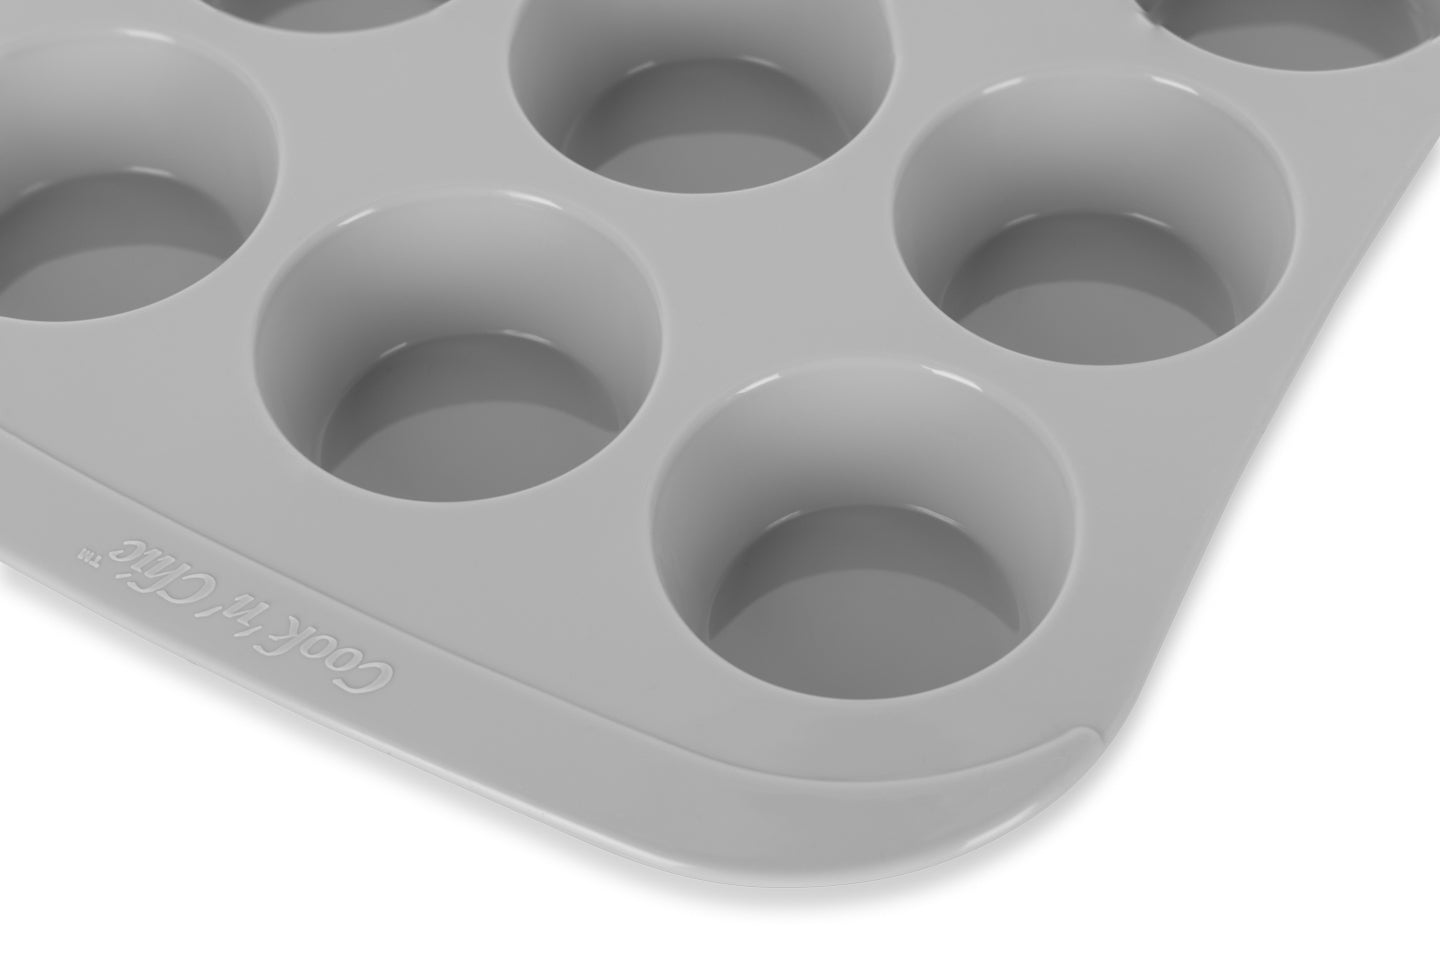
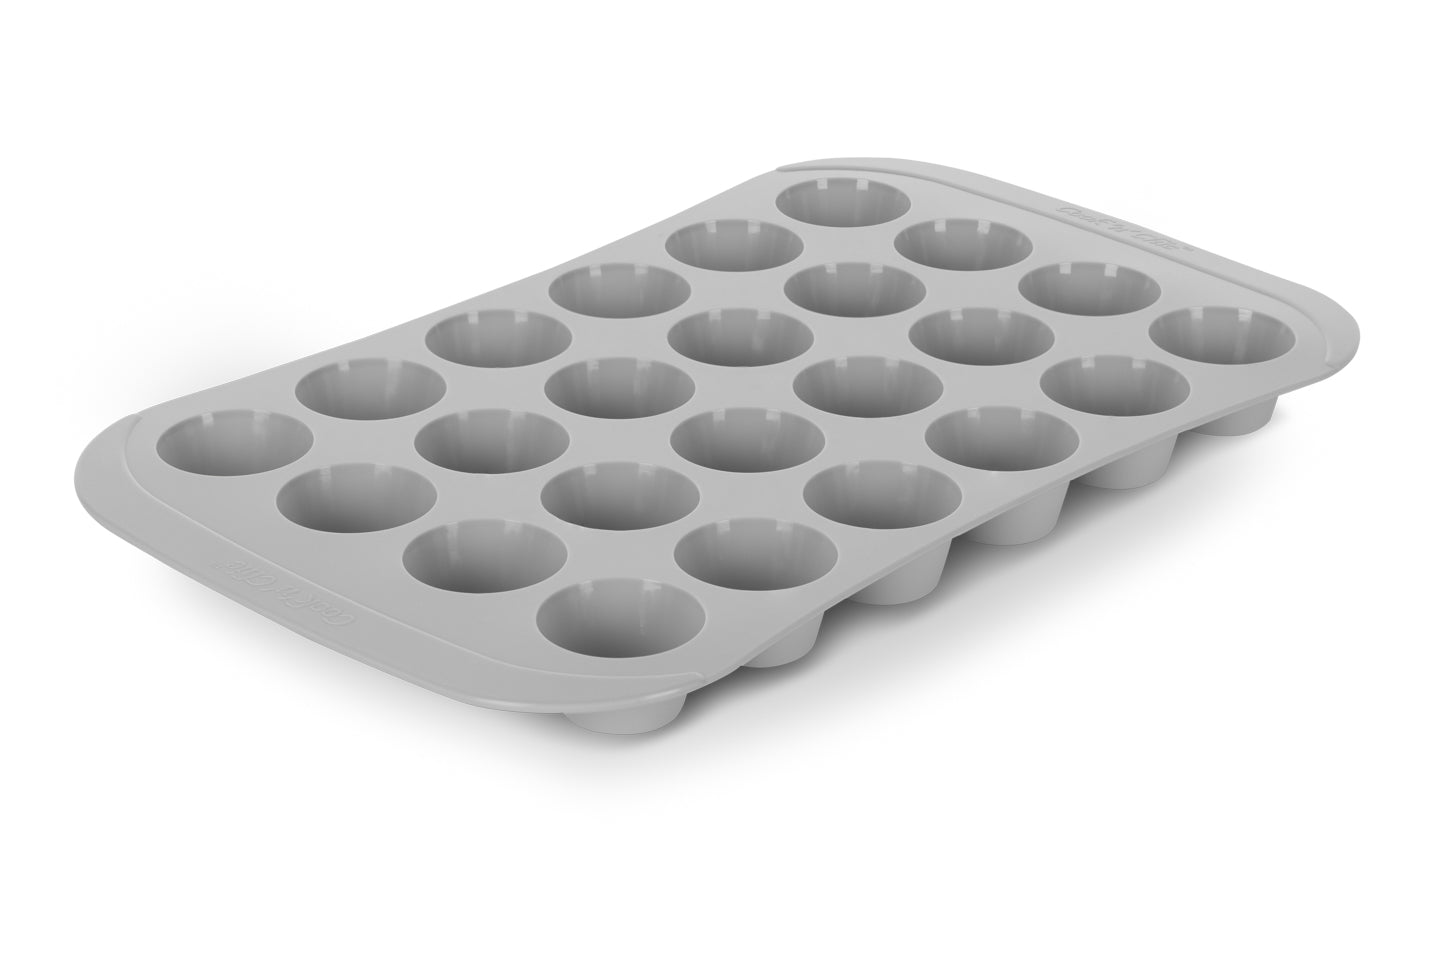
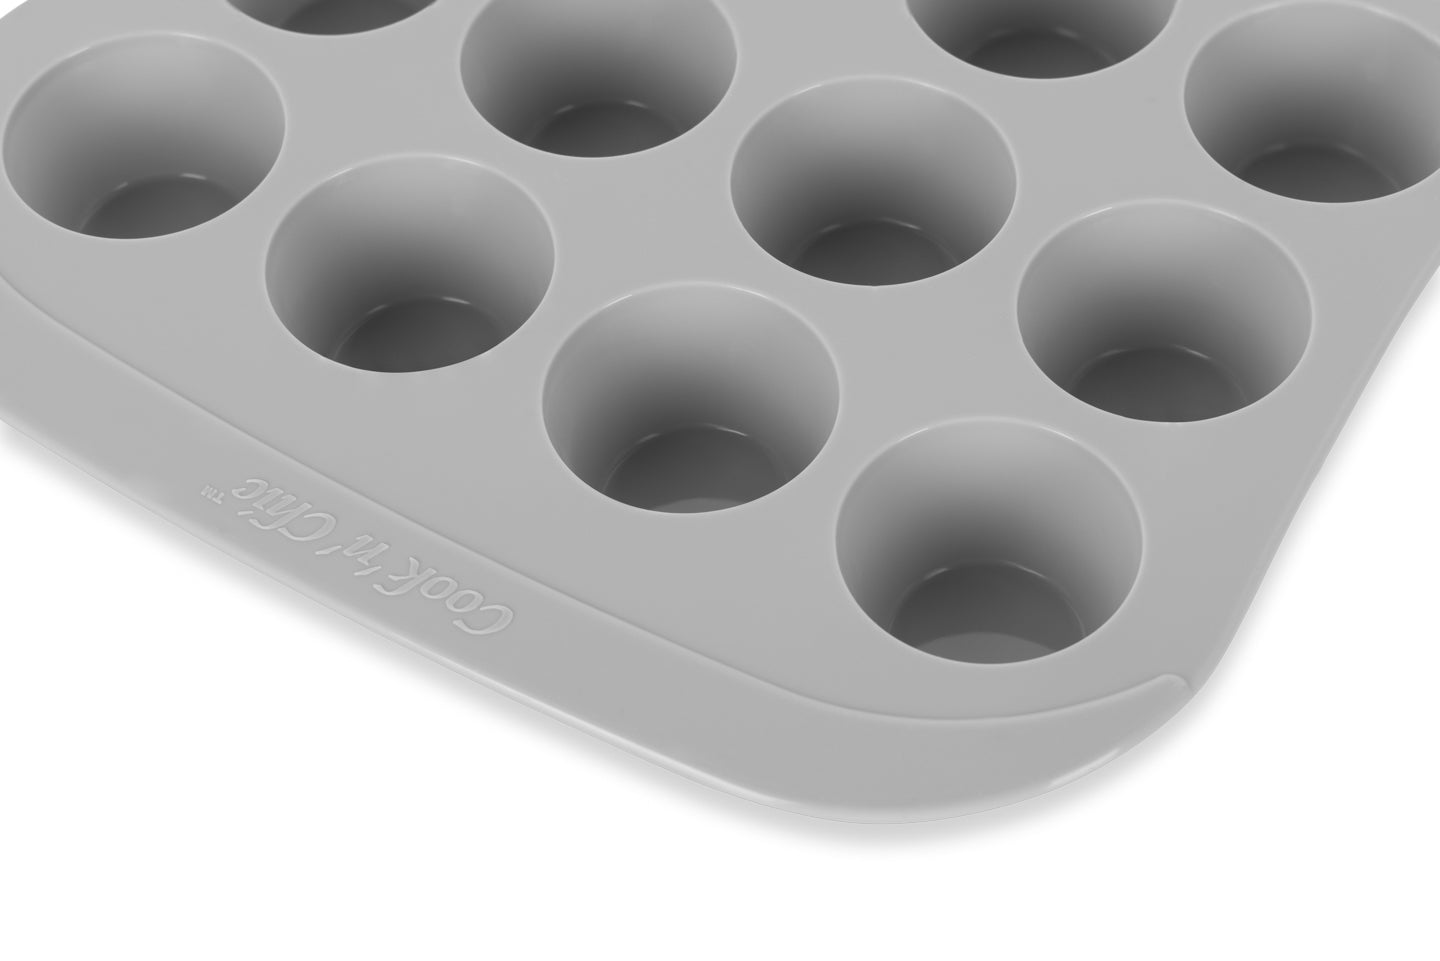
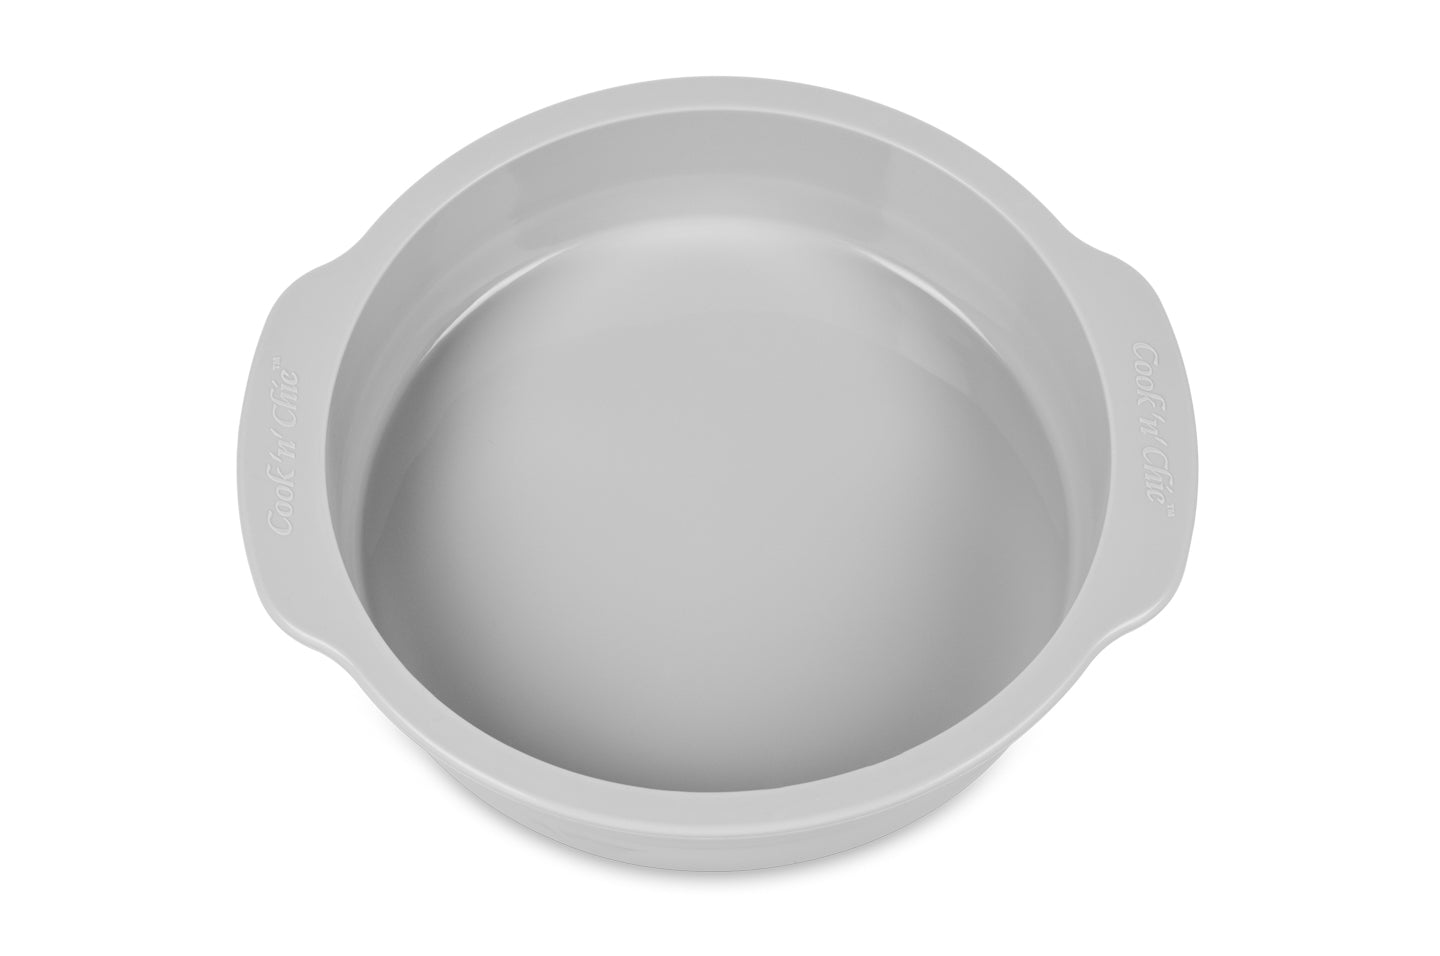
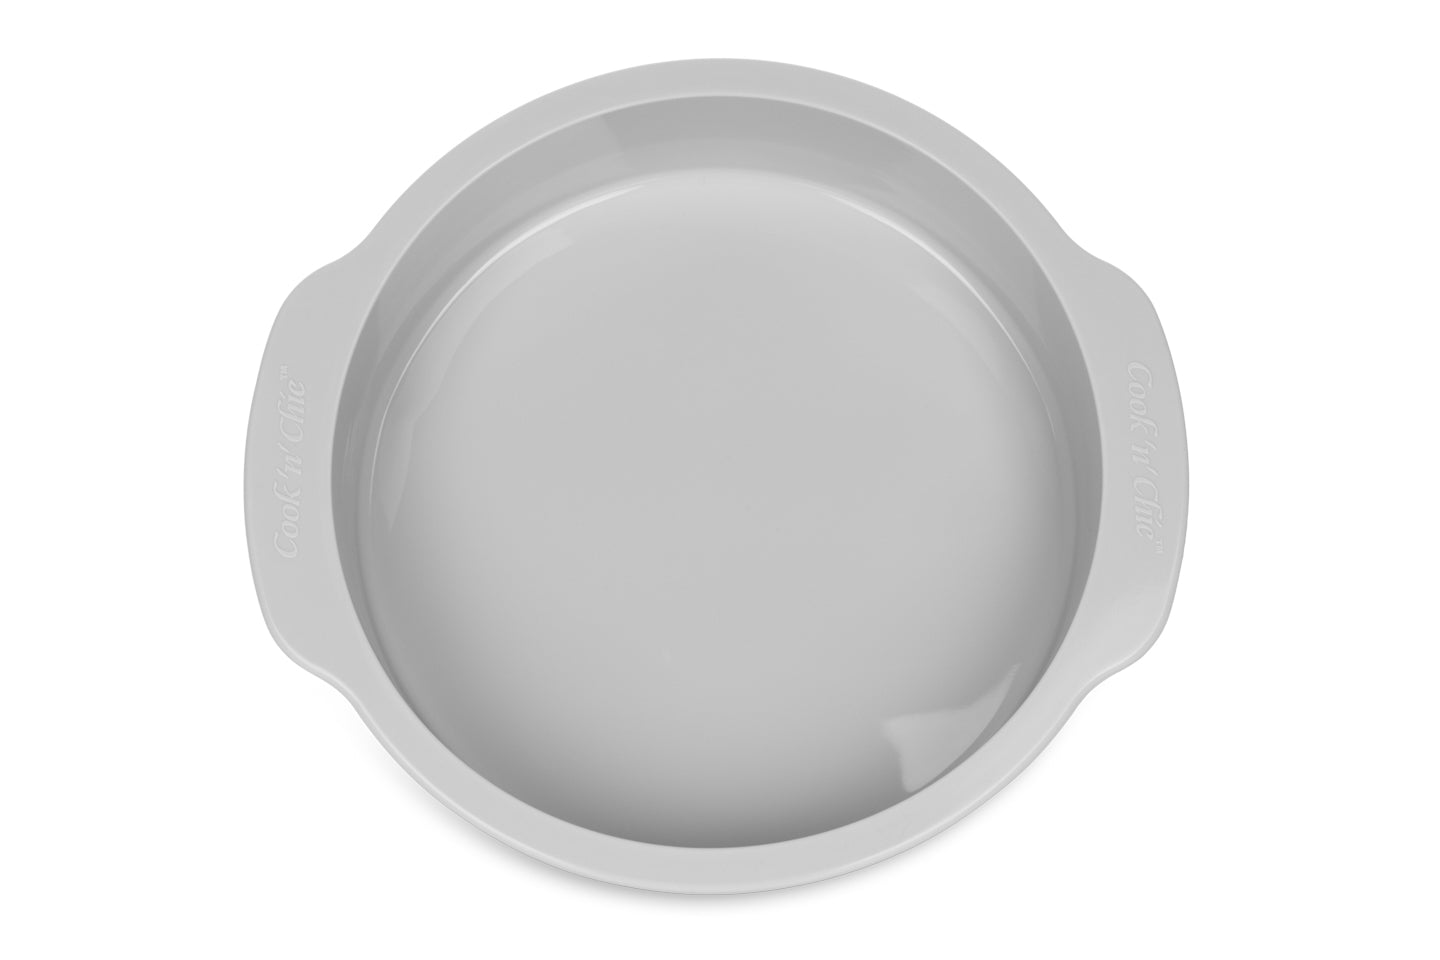
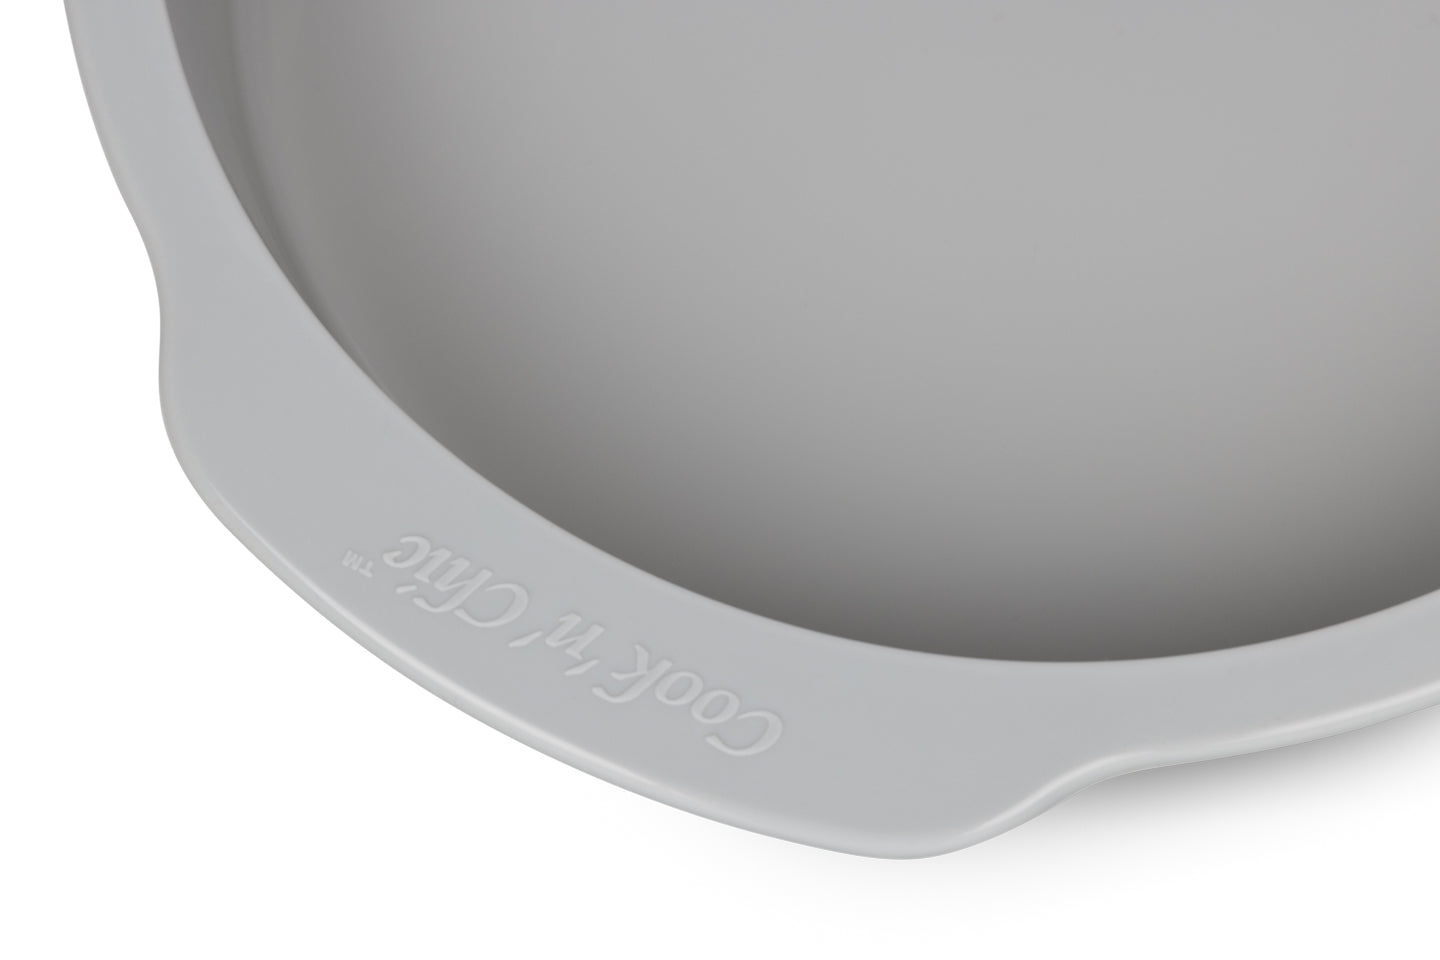
- Flexible and freezer-safe silicone molds from Cook'n'Chic that provide easy removal

- To get started, simply combine the melted chocolate and peanut butter in a bowl and mix well until fully combined.
- Then spoon a small amount of the mixture into each mold, filling it about halfway.
- You can then pop the baking molds into the freezer for 30 minutes to set.
- Finally, remove them from the freezer and top each peanut butter cup with a thin layer of melted chocolate.
- Let the final layer set completely before digging in!
- Enjoy these peanut butter cups as an after-dinner treat or as an indulgent mid-day snack.
Brownies

There are few things more delicious than a warm, gooey brownie, and making them at home is surprisingly easy. Making them in silicone molds is a great way to create perfectly portioned treats that are sure to please everyone. So next time you're in the mood for something sweet, give this simple recipe a try.
To cook the perfect batch of brownies, you will need a few simple ingredients:
- 145 g unsalted butter
- 1 ¼ cups sugar
- 2 large cold eggs
- 1 teaspoon vanilla extract
- 1/2 cup all-purpose flour
- 3/4 cup plus 2 tablespoons cocoa powder
- 1/4 rounded teaspoon salt
- ¼ teaspoon baking powder
- Start by whisking together the melted butter and sugar in a large mixing bowl until they are well combined.
- Then add in the eggs one at a time while whisking continuously until the mixture is smooth and glossy.
- Next, stir in the vanilla extract along with a pinch of salt and baking powder to help give your brownies structure and texture.
- Finally, incorporate the dry ingredients - flour and cocoa powder - into the wet mixture until you have a smooth batter.
- Pour this batter into molds. Pop your brownies into the oven and bake at 350 degrees for about 20-25 minutes or until set and just beginning to pull away from the sides of the milds.
- Let them cool completely before cutting into squares and serving! Enjoy!
Cake pops

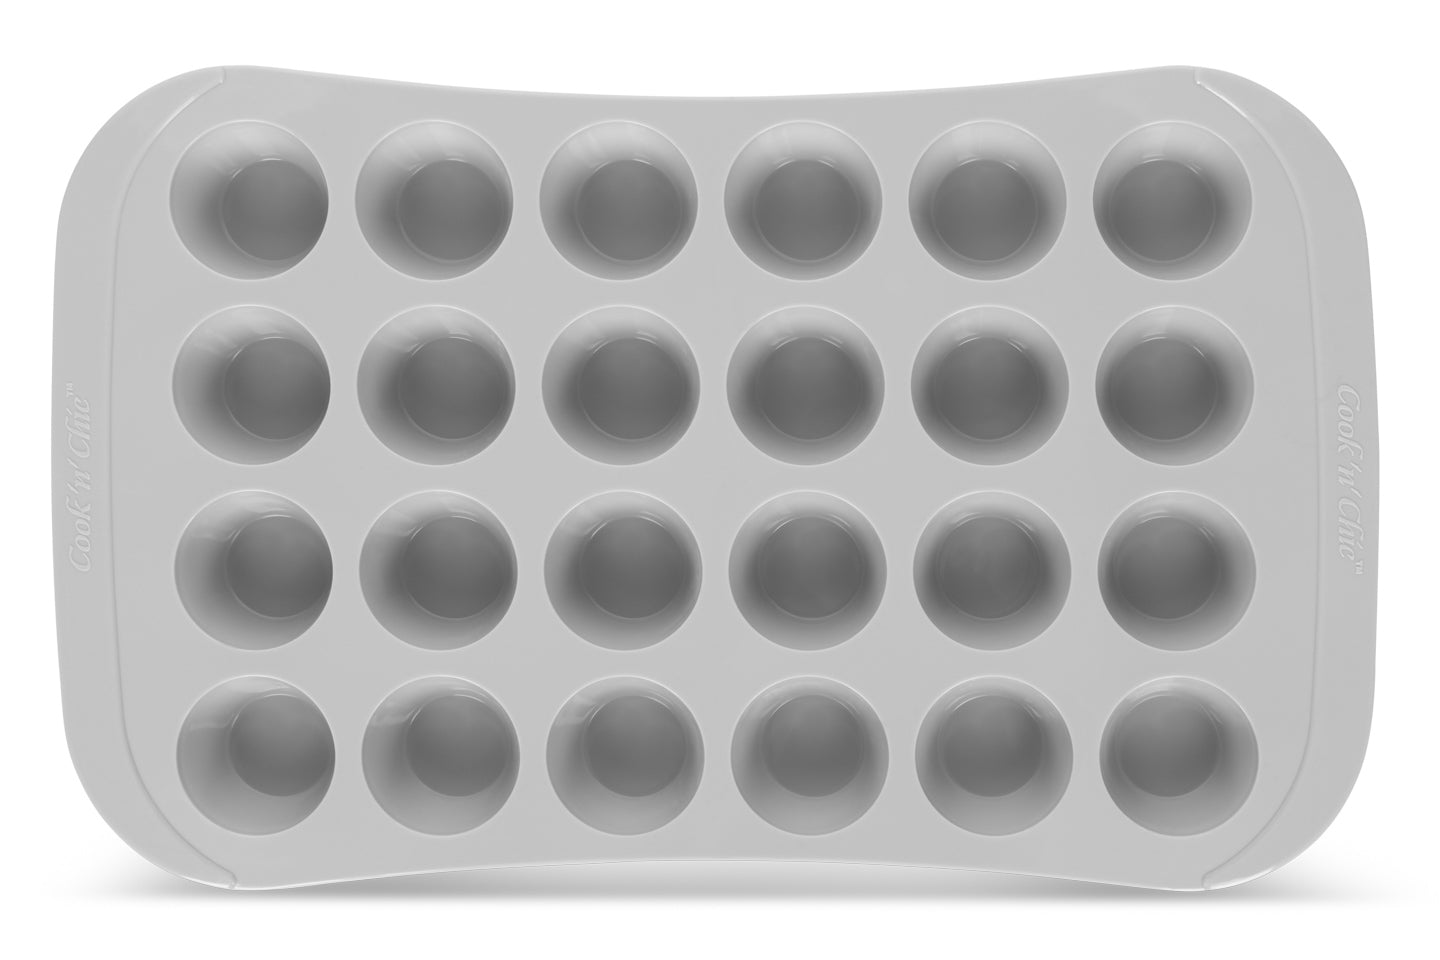
Growing in popularity over the past few years, cake pops are a delicious and fun treat that are easy to make at home. This recipe is perfect for mini silicone molds.
- 2 cups granulated sugar
- 1 cup butter
- 4 eggs
- 3 cups flour
- 2 teaspoons baking powder
- 1/2 teaspoon salt
- 1 cup milk
- 2 tablespoons vanilla extract
- The first step is to cream together sugar and butter until they are light and fluffy.
- Next, you'll add eggs one at a time, beating well after each addition.
- Once the eggs are incorporated, you'll alternate adding dry ingredients (flour, baking powder, salt) and wet ingredients (milk, vanilla extract) to the batter, mixing until everything is well combined.
- That's it! Now all that's left to do is pour the batter into the molds and bake at 350 degrees for about 15 minutes.
Once baked and cooled completely, pop out the cakes from their molds and get ready to decorate! You can dip your cake pops in melted chocolate or candy melts for a classic look, or get more playful by adding fun toppings like sprinkles, M&Ms, edible glitter, or mini candies.
Whatever decorations you choose, coat each one in a thin layer of chocolate or candy melts so that the sprinkles and decorations stick more easily. With just a little bit of effort and creativity, you can create one-of-a-kind treats perfect for any celebration!
How do you clean silicone molds
The good news is that high-quality silicone bakeware is non-porous, so it won't absorb food particles or bacteria. The best way to clean them is to wash it in warm, soapy water. You can also use a mild dishwashing detergent. If there are stubborn stains, you can try scrubbing the mold with a soft-bristled brush. Rinse the mold thoroughly before using it again. You can also put it in the dishwasher on the top rack. Just be sure to use a gentle cycle and let the mold air dry afterwards. With just a little bit of care, your handy tools will last for years.